There’s whipped feta and whipped goat cheese, but where are all my brie lovers at? This recipe shines a light on creamy brie that (with a little TLC) whips into a luscious spread for your next gathering. But we won’t judge if you make it all for yourself. We may have seen it first on TikTok, but this variation will have you licking the plate clean.
What’s the Difference Between Brie and Camembert?
Brie is a soft, buttery cheese encased in a white, edible rind. Originating in France, it is traditionally made from cow’s milk. The taste is rich, fruity, and increasingly earthy with age.
The main difference between brie and Camembert lies in the tasting notes. Brie is milder in flavor with more buttery undertones from its higher milk fat percentage. Camembert provides funkier mushroom flavor notes.
Another big difference is the size—if you find brie sold by the slice, it’s because of how large the wheel typically is. Brie is traditionally made to measure 14 to 15 inches in diameter, whereas Camembert comes in at only 5 inches. However, most brie made outside France is made in a smaller format, with a size comparable to Camembert. That is the best type of brie to use for this recipe.
What Kind of Brie to Use
This is the only time I’ll say this when it comes to brie—use the cheap stuff for this recipe. Since we are removing the rind and adding more flavor to the cheese itself, there is no need to use fancy brie (often sold as brie fermier) for this recipe.
Former cheesemaker and fellow editor Meg Scott says, “Here’s my opinion as a cheese-obsessed person: Most supermarket brie is not very flavorful and the rind doesn’t add much to the experience, so no one should feel bad about using cheap brie for this. This is the time for cheap, mass-produced brie to shine!”
Upside, you can spend less time analyzing the varieties and go straight for the least expensive wheels at your local store.
What To Do With the Rind
Brie rind is very much edible, providing earthy tones to the cheese itself and protecting it from the outside environment. It develops on the outside of the cheese thanks to a penicillium mold that is added to the milk during the cheesemaking process. That said, there aren't many resources for what to do with leftover rind beyond consumption. Don’t worry, I have the perfect solution: Rind chips!
- Lay the leftover rinds on a nonstick baking sheet and spread them out. It’s ok if there’s some cheese left on them.
- Sprinkle with dried herbs, 1/2 teaspoon salt, and a few grinds of fresh pepper (and any other seasonings or spices you like) all over the rinds.
- Lay a sheet of aluminum foil over the rinds, then place another baking sheet on top to weigh it down.
- Bake at 350 F until browned and crispy, about 30 minutes
- Let the rinds cool for several minutes before lifting off the top baking sheet. If you're not using a nonstick pan, allow the rinds to sit for 15 minutes after cooking. As they cool, they'll release from the surface naturally (or with minimal help from a spatula).
- Transfer the chips to a paper towel-lined plate to finish cooling to room temperature or until crispy.
What to Serve With Whipped Brie
Spread over toasted crusty bread (like a crostini), or serve with all types of vegetables, chips (including the rind chips!), crackers, or flatbreads.
Tips for Making Whipped Brie
- Slicing the brie while it’s still cold makes it much easier to cut the rind off without taking off too much cheese with it.
- Bring the brie to room temperature before whipping, so that it whips up easily and nicely, much like you would when bringing butter to room temperature before creaming it in a cookie recipe.
- You can start to whip the brie together if it is still cold. It will be thick to start and loosen up as it goes. It will take an additional couple minutes.
- Be patient while whipping the brie. It will be stiff at first, but after about 8 minutes in the mixer, it will begin to lighten in color and become pillowy.
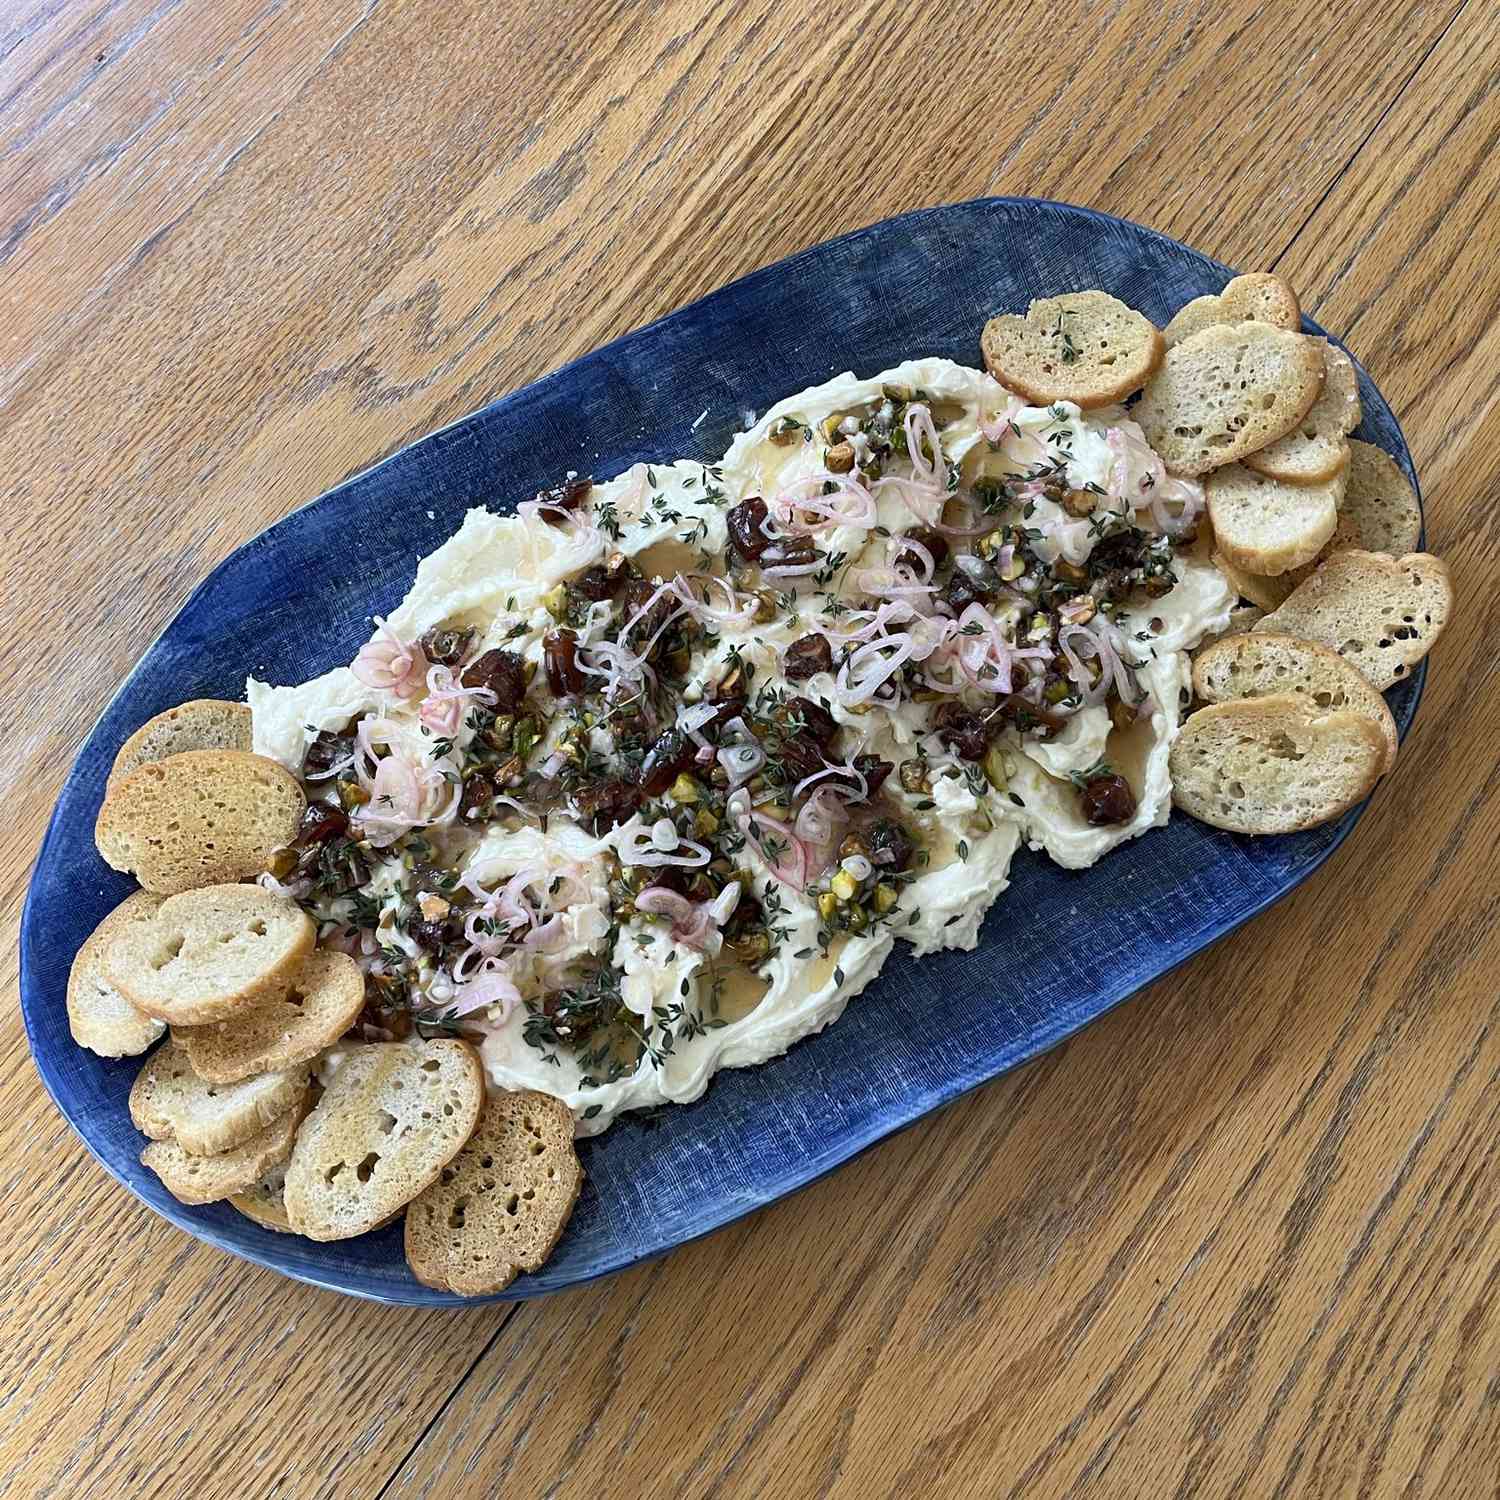
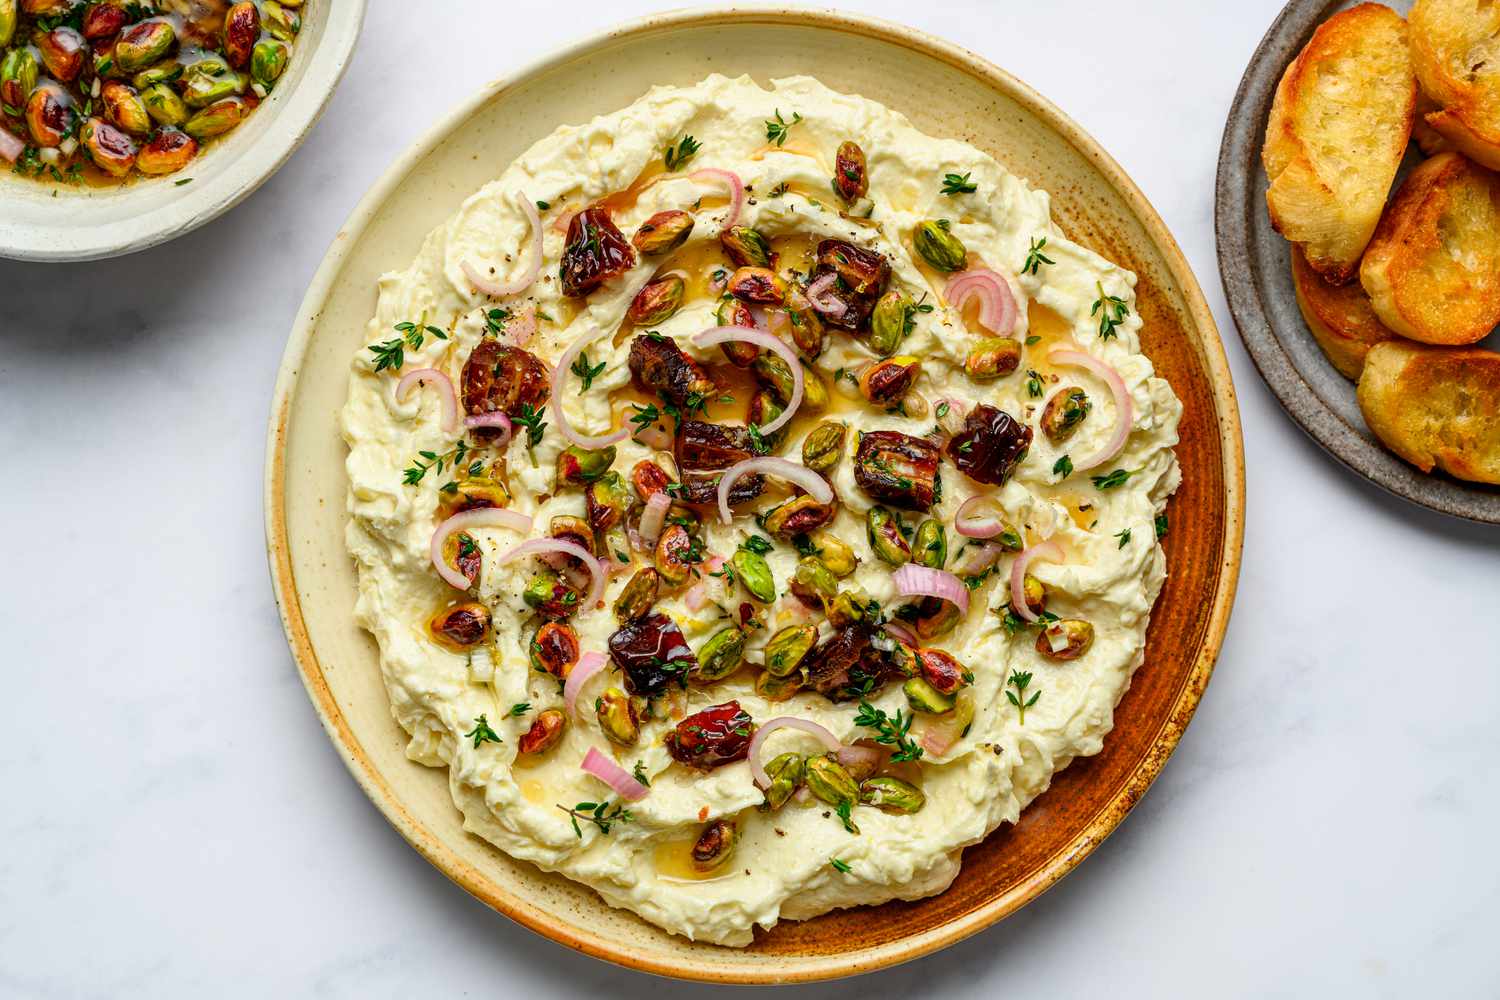
“Whipped brie is the new whipped cheese sensation. This recipe is one of the best with the sweetness of dates and honey, the tang of quick pickled shallots, the crunch of toasted nuts, and the freshness of lemon zest and fresh herbs. I paired this creamy deliciousness with toasted baguette slices but your favorite crackers would work just as well.” —Joan Velush
A Note From Our Recipe Tester
Ingredients
-
3 (8-ounce) wheels of brie, cold
-
1 medium shallot
-
2 tablespoons apple cider vinegar
-
1 teaspoon plus 1/4 cup honey, divided
-
3 tablespoons water, divided
-
A pinch plus 1/2 teaspoon flaky sea salt, divided
-
1 medium lemon
-
1/3 cup plus 2 tablespoons olive oil, divided
-
1 tablespoon fresh thyme leaves, plus more for garnish
-
1/2 cup quartered pitted dried dates
-
1/2 cup chopped, toasted nuts (walnuts, pecans, pistachios, etc.)
-
1/4 teaspoon freshly ground black pepper, plus more as needed
-
Toasted crusty bread or crackers
Steps to Make It
-
Gather the ingredients.
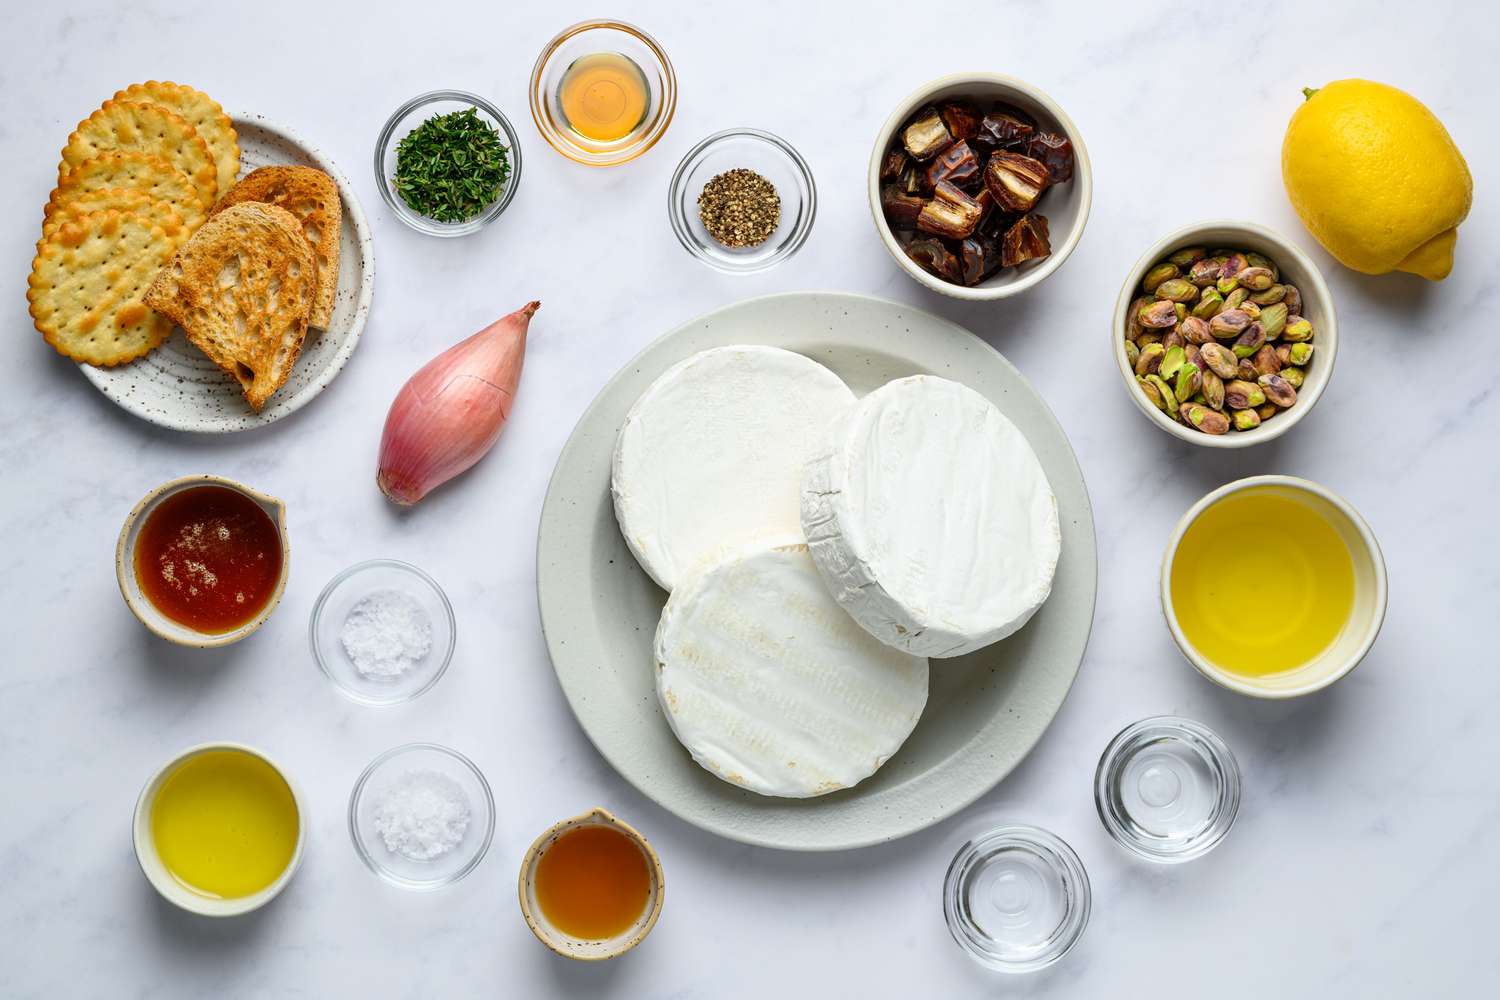
The Spruce Eats / Bahareh Niati
-
Slice the tops and bottoms off the brie while it is cold. Run your knife around the inside of the skin of each, then remove the interior cheese wheel and place in the bowl of a stand mixer. You can also place the brie in a large bowl and use an electric hand mixer. Set aside for 20 to 30 minutes to allow the cheese to come to room temperature.
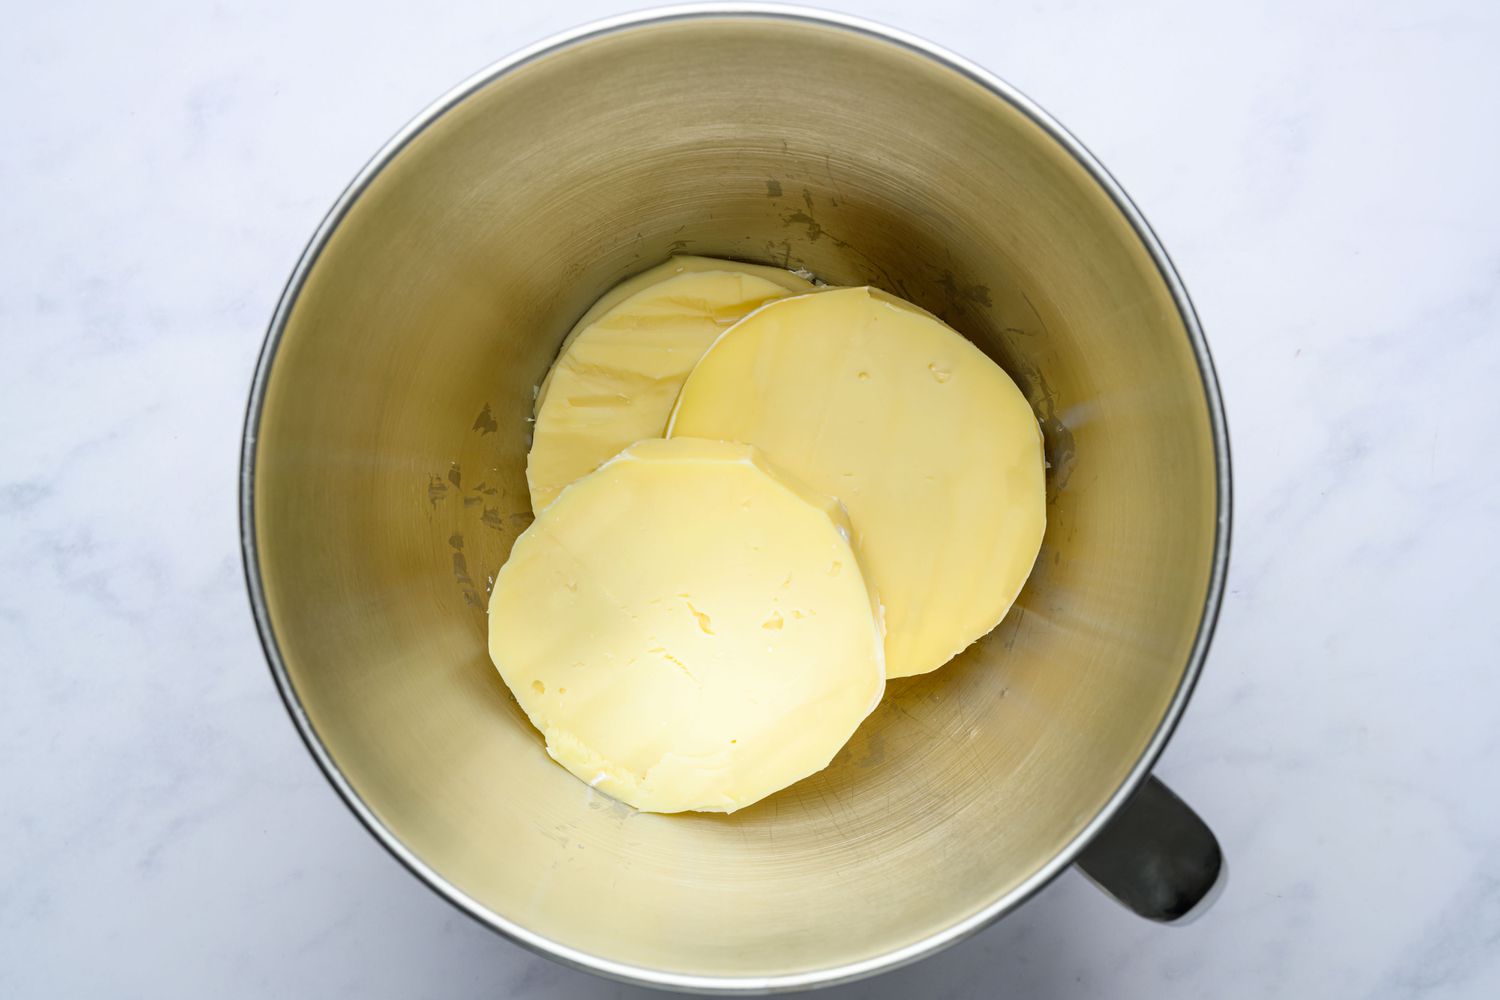
The Spruce Eats / Bahareh Niati
-
Halve the shallot vertically through the core. Thinly slice one half and set aside. Dice the remaining half and place in a medium bowl.
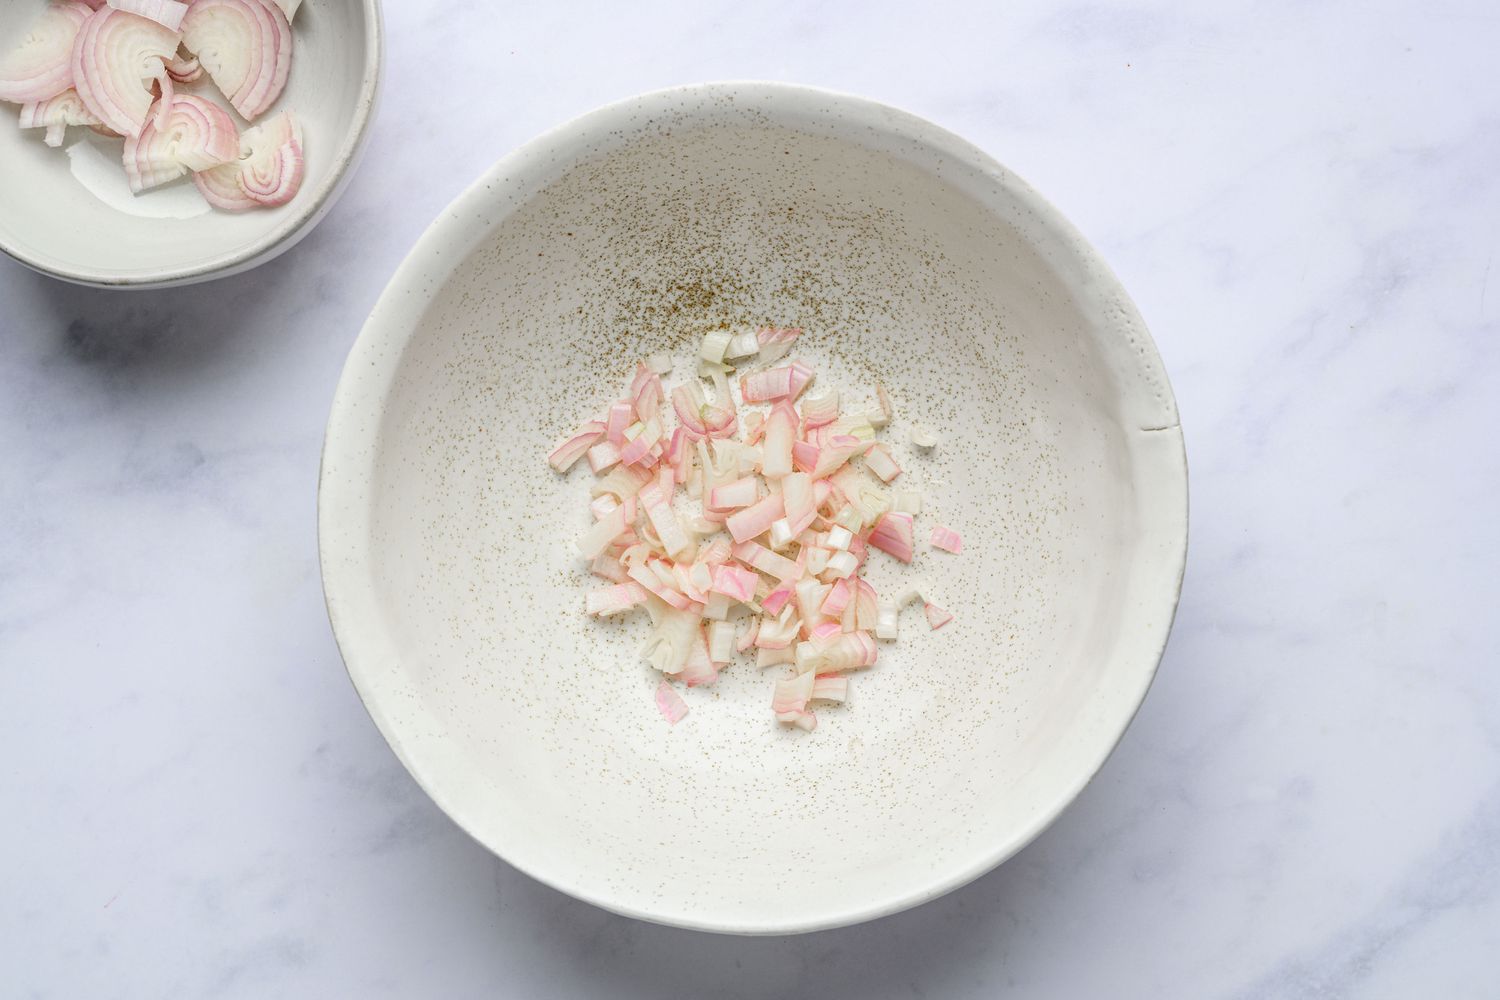
The Spruce Eats / Bahareh Niati
-
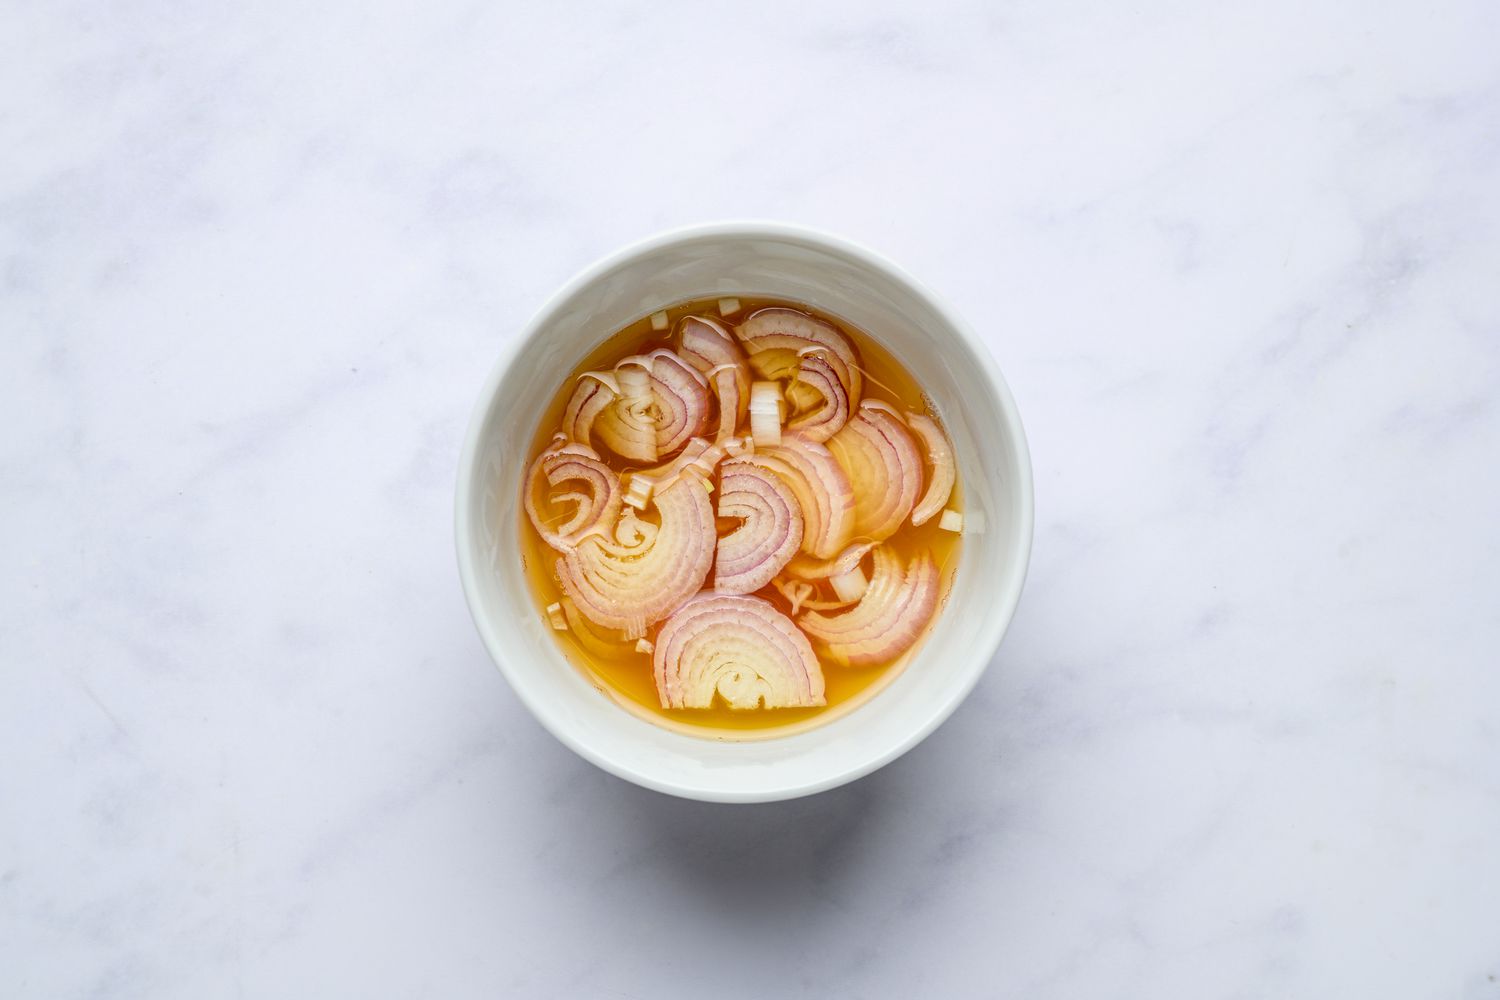
Add the vinegar, 1 teaspoon honey, 2 tablespoons water, and a pinch of salt to a small microwave-safe bowl. Whisk together, then microwave for 30 seconds until warm to the touch. Add the sliced shallots. Set aside to pickle.
The Spruce Eats / Bahareh Niati
-
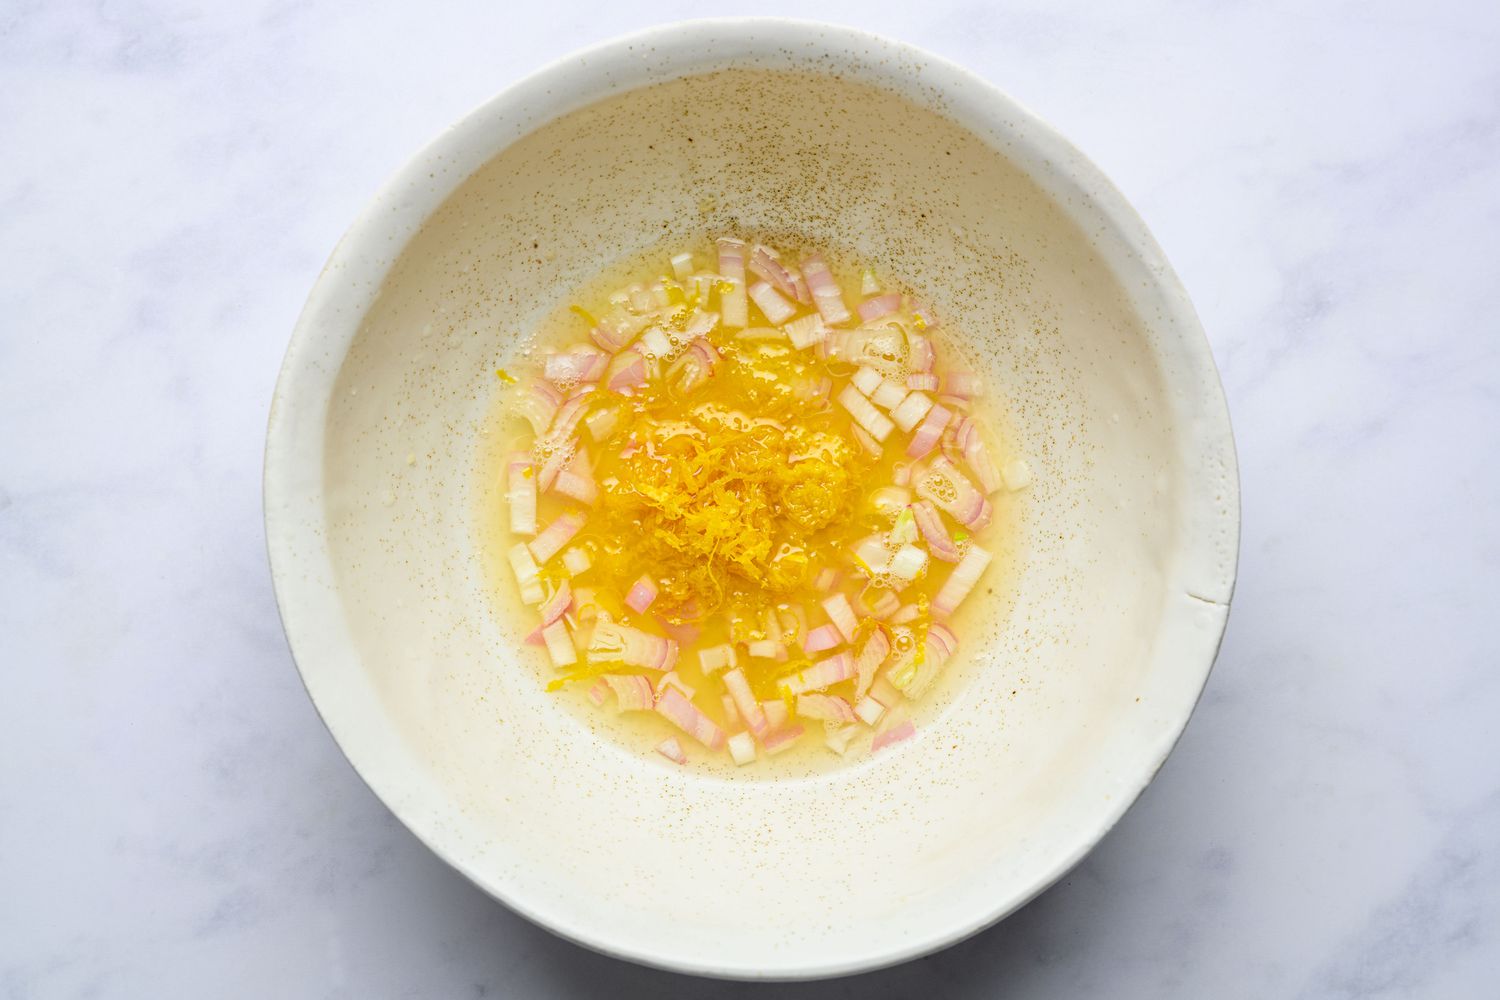
Zest all of the lemon into the medium bowl with the diced shallot, then juice all of the lemon into it.
The Spruce Eats / Bahareh Niati
-
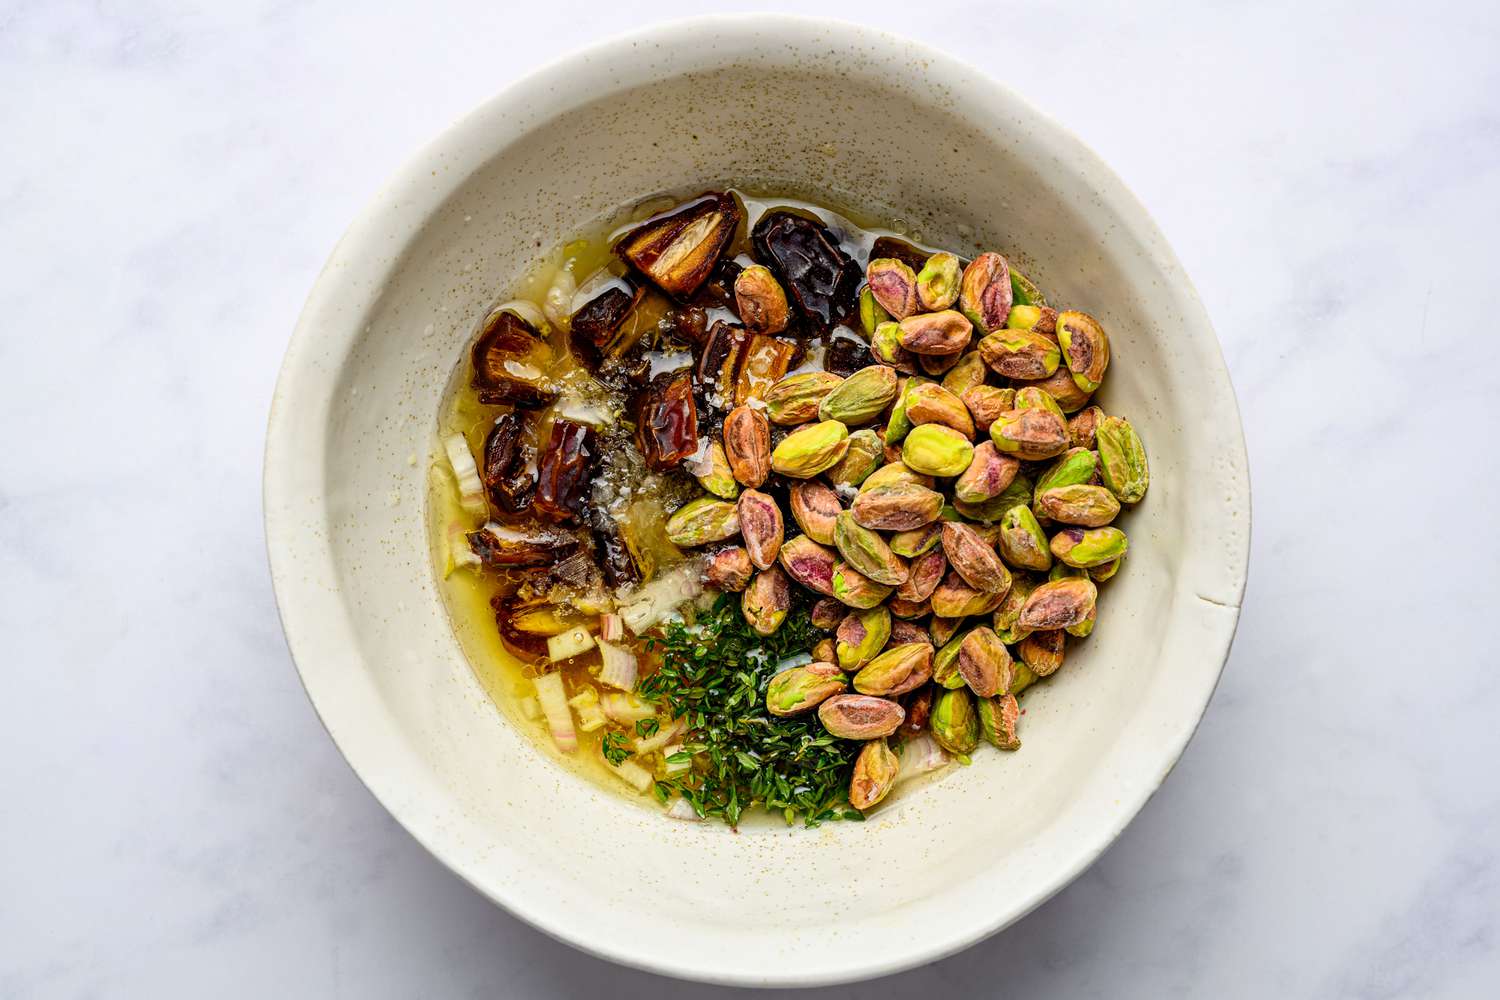
Add 2 tablespoons of the olive oil, the remaining 1/4 cup honey, thyme, dates, nuts, remaining 1/2 teaspoon salt, and pepper to the bowl. Mix to combine and set aside.
The Spruce Eats / Bahareh Niati
-
Add the remaining 1/3 cup oil and 1 tablespoon water to the bowl with the brie. Beat on medium-high speed until light and fluffy, 5 to 8 minutes. Scrape down the sides and bottom of the bowl occasionally. Alternatively, use an electric hand mixer. (It’s ok if the brie is still slightly cold. It may be firm when you start to beat it together, but will lighten up as it continues to mix).

The Spruce Eats / Bahareh Niati
-
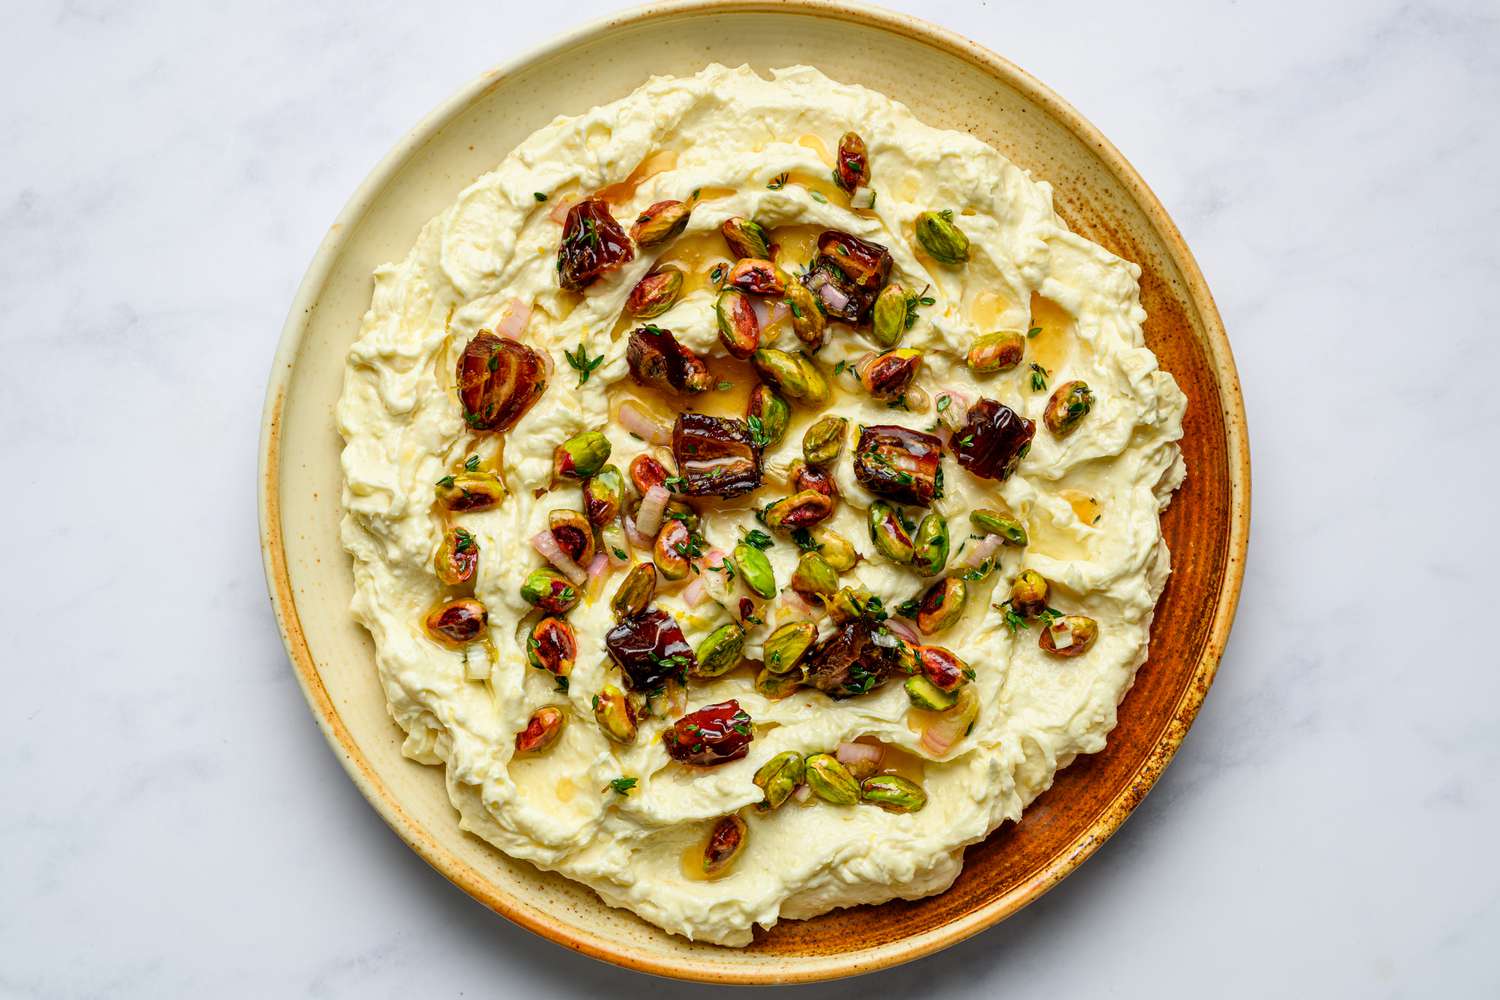
Spread the brie across a platter or serving plate. Spoon about half of the nut and date topping across the top, transferring the remaining to a bowl to serve on the side.
The Spruce Eats / Bahareh Niati
-
Sprinkle the pickled shallots over top, then garnish with additional fresh thyme and flaky salt. Serve with toasted crusty bread or crackers.
The Spruce Eats / Bahareh Niati
How to Store Whipped Brie
- Store leftover whipped brie in an airtight container in the refrigerator for up to 5 days. It will thicken in the fridge, so let sit at room temperature for 10 minutes, then re-mix with a rubber spatula before serving.
- We do not recommend freezing as the whipped brie will take on a grainy texture.
- You can make the whipped brie ahead of time and store in an airtight container until ready to use. Use a rubber spatula to remix before serving. Like all cheeses, this is best served at room temperature.
- You can also make the nut and date topping ahead of time, but add the nuts right before serving.
Recipe Variations
- You can flavor the nut and date topping however you like, taking out or adding ingredients you prefer.
- Use whatever nut you like or omit them entirely. Same goes for the dates. If omitting them keep in mind that you want to use an ingredient with some texture since the remaining ingredients are all smooth.
- Make caramelized onions or top the finished dish with store bought crispy onions.
- Leave out the nut and date topping completely and top with items like:
- Chili crisp
- Pesto
- Pepper jelly or pickled peppers like Mama Lil’s
- Tomato, cherry, or other varieties of jam (fig jam is especially nice)
- Fresh herbs
- Chopped tinned fish
- Tapenade