Imagine this: you promised your friends that you’d bake them something special when they came over but you only have one hour to prepare. Now what if I told you that you can make wonderfully tender, perfectly caramelized pear tarts in about one hour with prep time being under thirty minutes…with just five ingredients? Yes, you read that right.
That was me last weekend. I stayed up late the night before binging a show (the irony is that I was watching a cooking show) and woke up late the next day. This recipe saved my life. The minimal prep time gave me a chance to shove everything I forgot to put away into my closet before my friends arrived while the tarts baked. I love the process of making things from scratch, but I have been saved countless times by having pre-made puff pastry stocked and ready to go for days when I'm short on time but looking to impress. It’s super easy to use and so versatile.
What Kind of Pears to Use
Bosc pears are juicy and retain their flavor and shape when baked but your favorite pear will work just fine. There are over three thousand pear varieties to choose from so you’ve got options! Apples would also work great as a substitute.
Make It Ahead
You can easily break down this recipe so you don’t need to prep everything in one day. Make the caramelized pears up to three days in advance and cut the puff pastry ahead of time two days in advance, keeping both in the fridge until you’re ready to bake.
Serving Pear Tarts
These tarts are a great addition to a brunch spread, paired with a good cup of coffee or tea. Take it to the next level by making it à la mode with a scoop of your favorite ice cream, a drizzle of the residual caramel syrup, and a dusting of powdered sugar.
Tips for Making Mini Pear Tarts
- Keep the puff pastry cold before baking to ensure the butter stays cold. Cold butter equals flaky layers. If your pastry is warm, the butter can easily seep right out during baking, preventing the pastry from puffing up.
- Pricking the puff pastry with a fork helps keep it from puffing up unevenly by releasing steam as it bakes.
- Make sure to use firm-ripe pears. Very ripe pears will turn to mush during cooking.
- If you don’t have a second baking sheet, the remaining pastry squares could be placed in the refrigerator on large plates or even a cutting board. Allow your baking sheet to completely cool before repeating the building and baking process with the remaining pears and pastry squares. I will sometimes run my warm baking sheet under cold water to speed this process, then dry it before continuing on.
Ingredients
-
1 (17.3-ounce) package frozen puff pastry sheets (such as Pepperidge Farm), thawed
-
4 tablespoons (2 ounces) salted butter
-
4 medium (6 ounces each) firm-ripe Bosc pears, cored, stemmed, and cut into 1/4-inch-thick slices
-
1/2 cup packed light brown sugar
-
1 teaspoon vanilla extract, optional
-
Powdered sugar, for garnish, optional
Steps to Make It
-
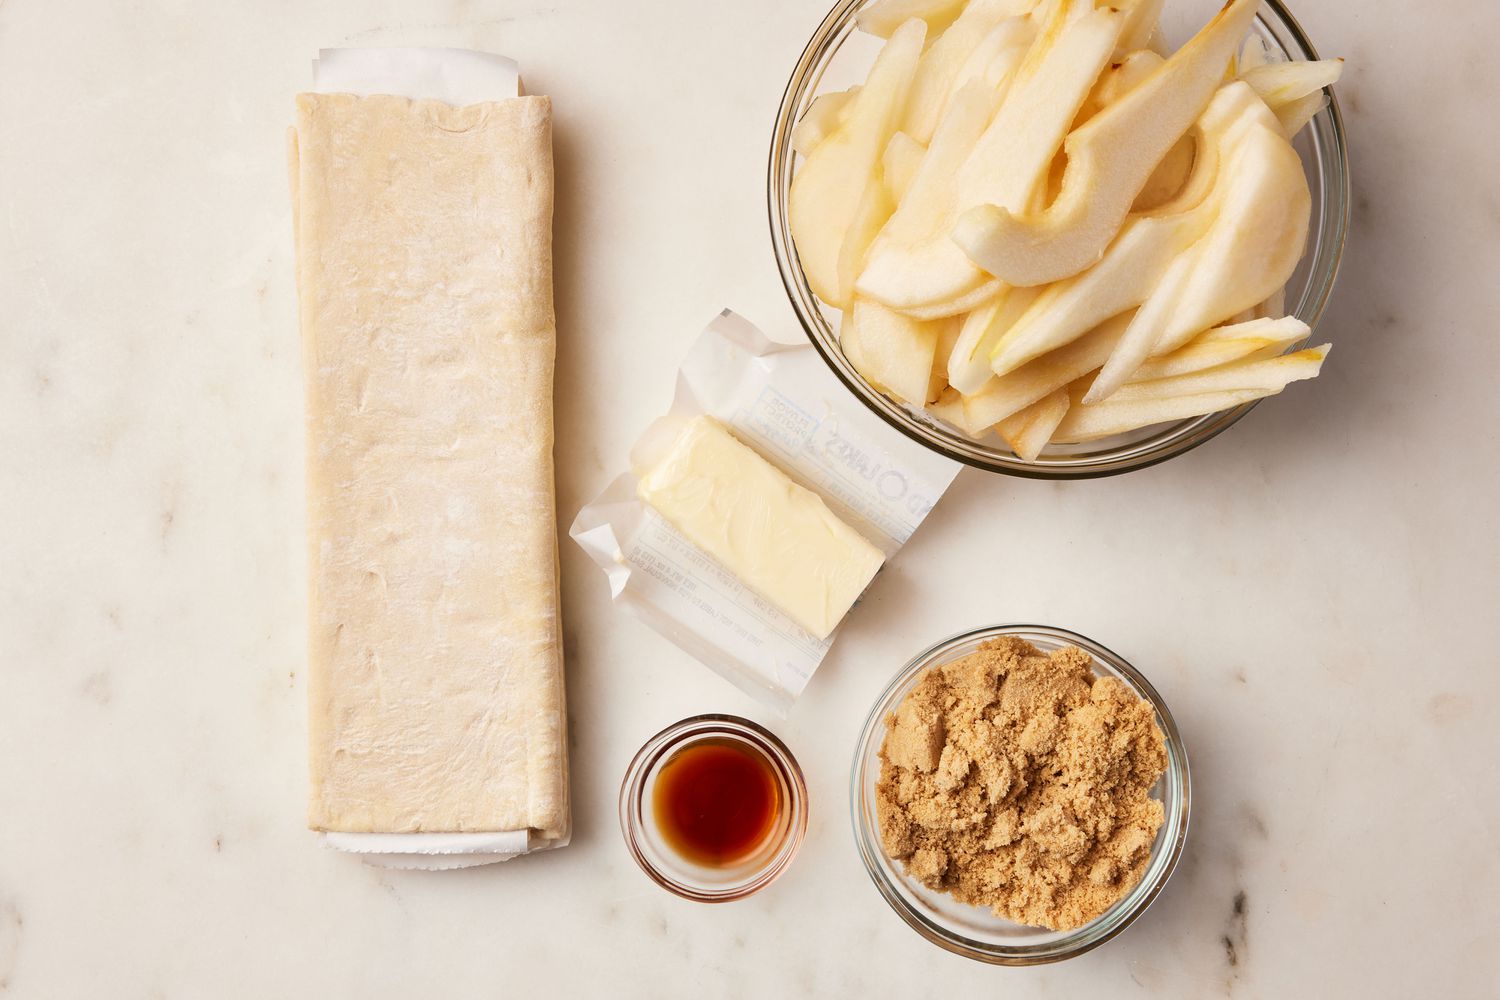
Gather the ingredients. Preheat the oven to 400 F. Line 2 large rimmed baking sheets with parchment paper and set aside.
The Spruce Eats / Photographer: Jenn Causey, Food Stylist: Julian Hensarling Prop Stylist: Christine Keely
-
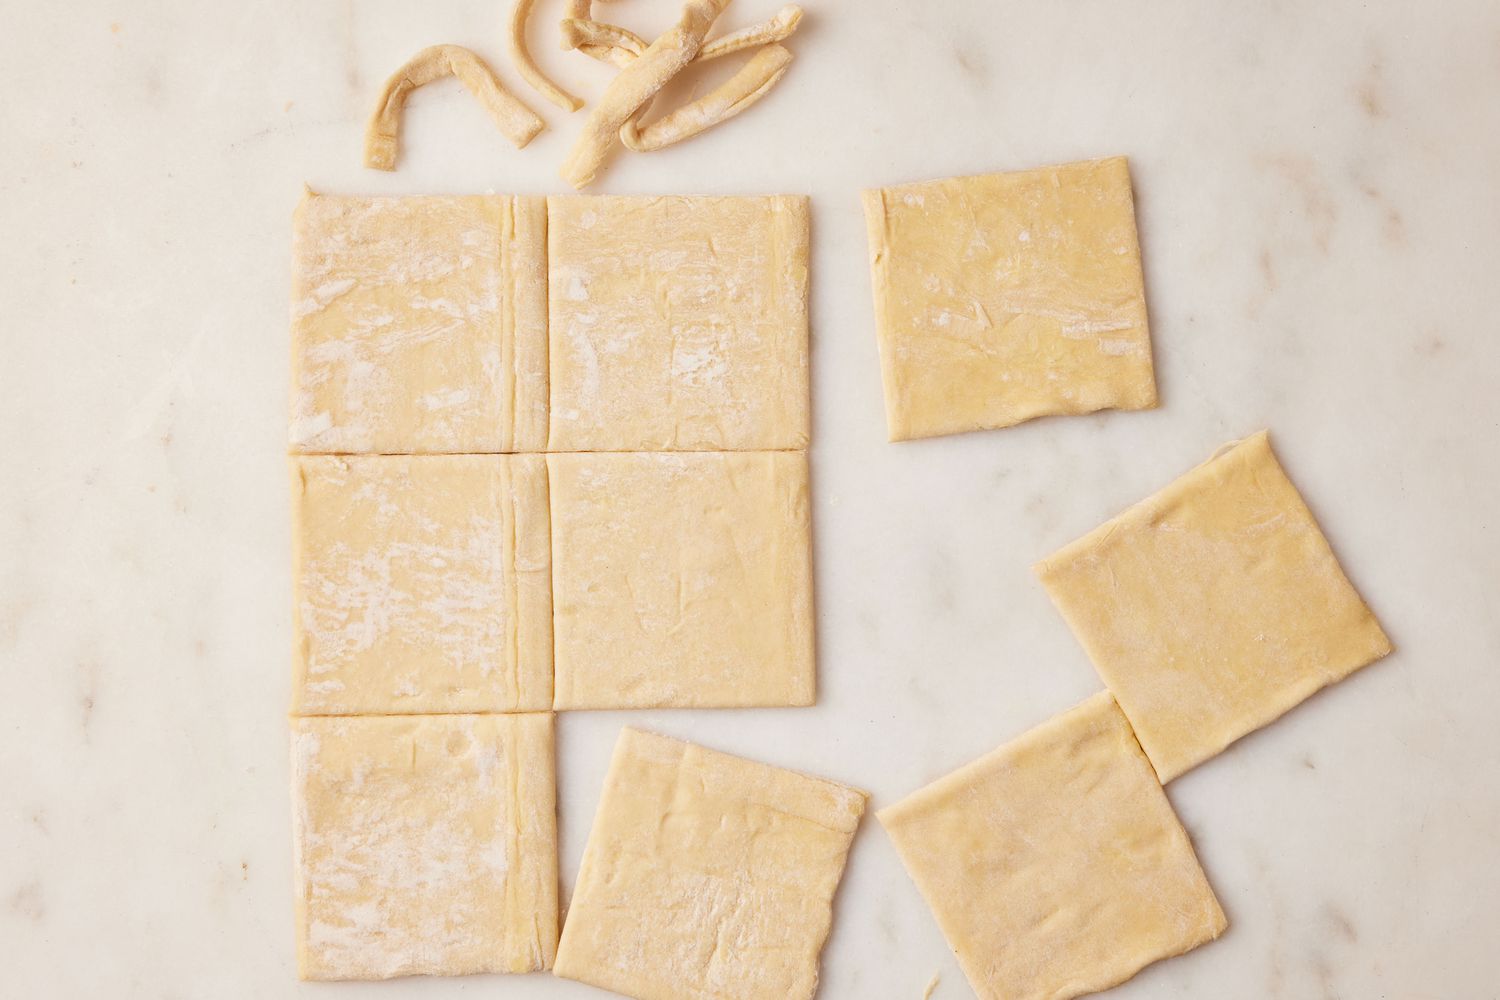
Unfold 1 (17.3-oz.) package frozen puff pastry sheets, thawed. Cut 9 (3-inch) squares from each sheet to yield 18 squares total, and discard the scraps (or save them to make pie crust cookies).
The Spruce Eats / Photographer: Jenn Causey, Food Stylist: Julian Hensarling Prop Stylist: Christine Keely
-
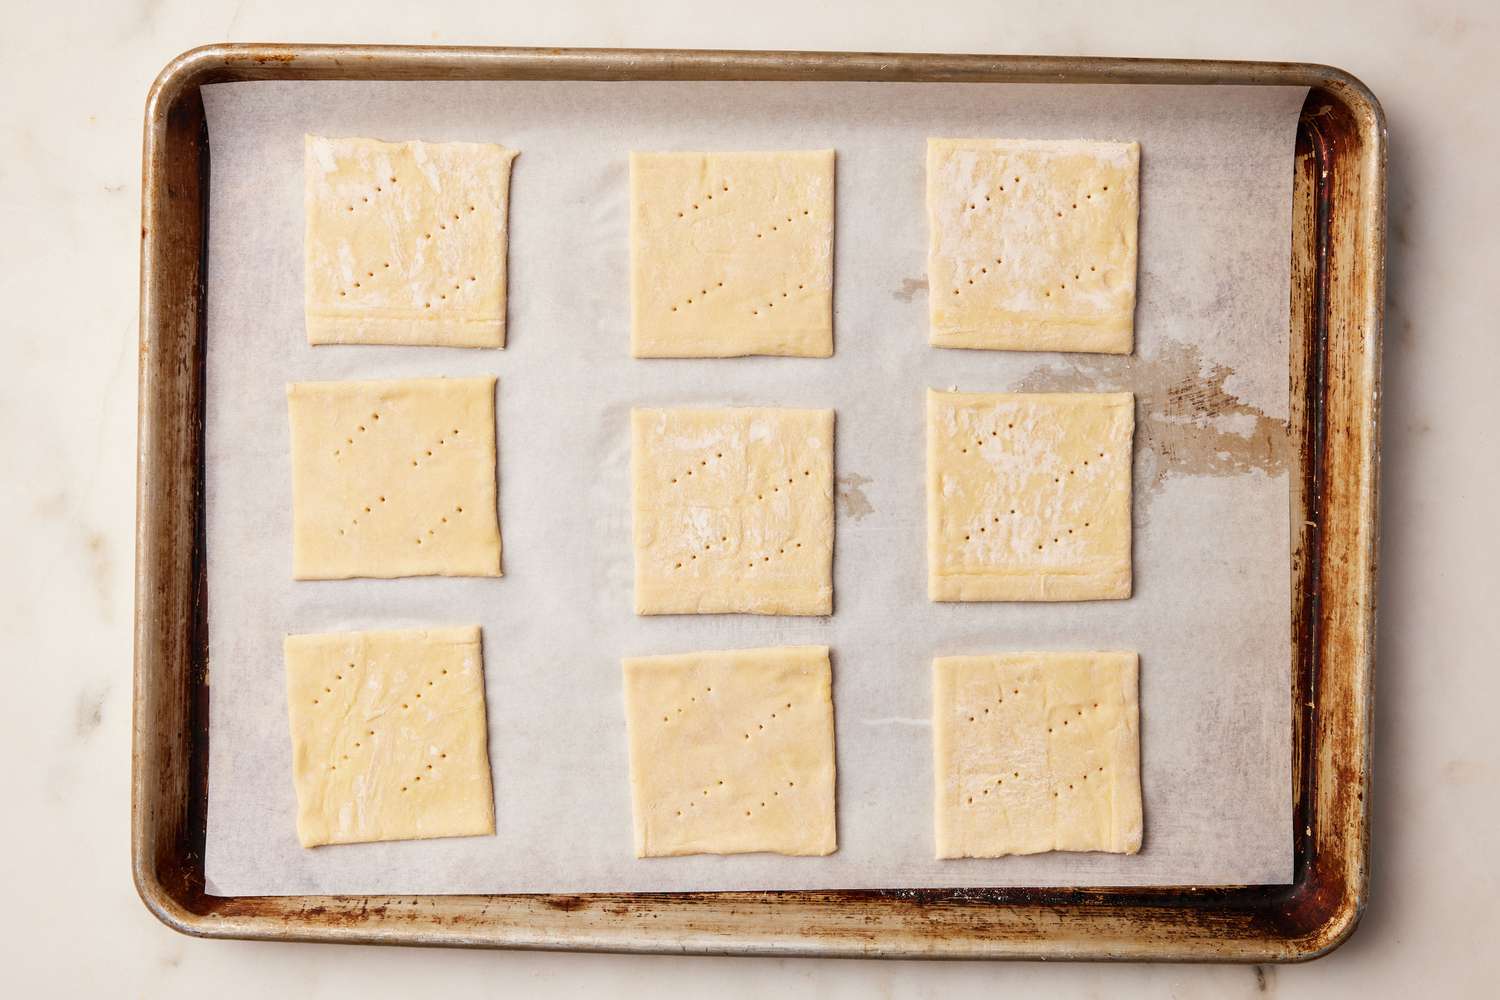
Divide the pastry squares evenly among the prepared baking sheets, spacing them at least 1/2-inch apart. Prick each pastry square all over with the tines of a fork. Chill in the refrigerator, uncovered, while you cook the pears.
The Spruce Eats / Photographer: Jenn Causey, Food Stylist: Julian Hensarling Prop Stylist: Christine Keely
-
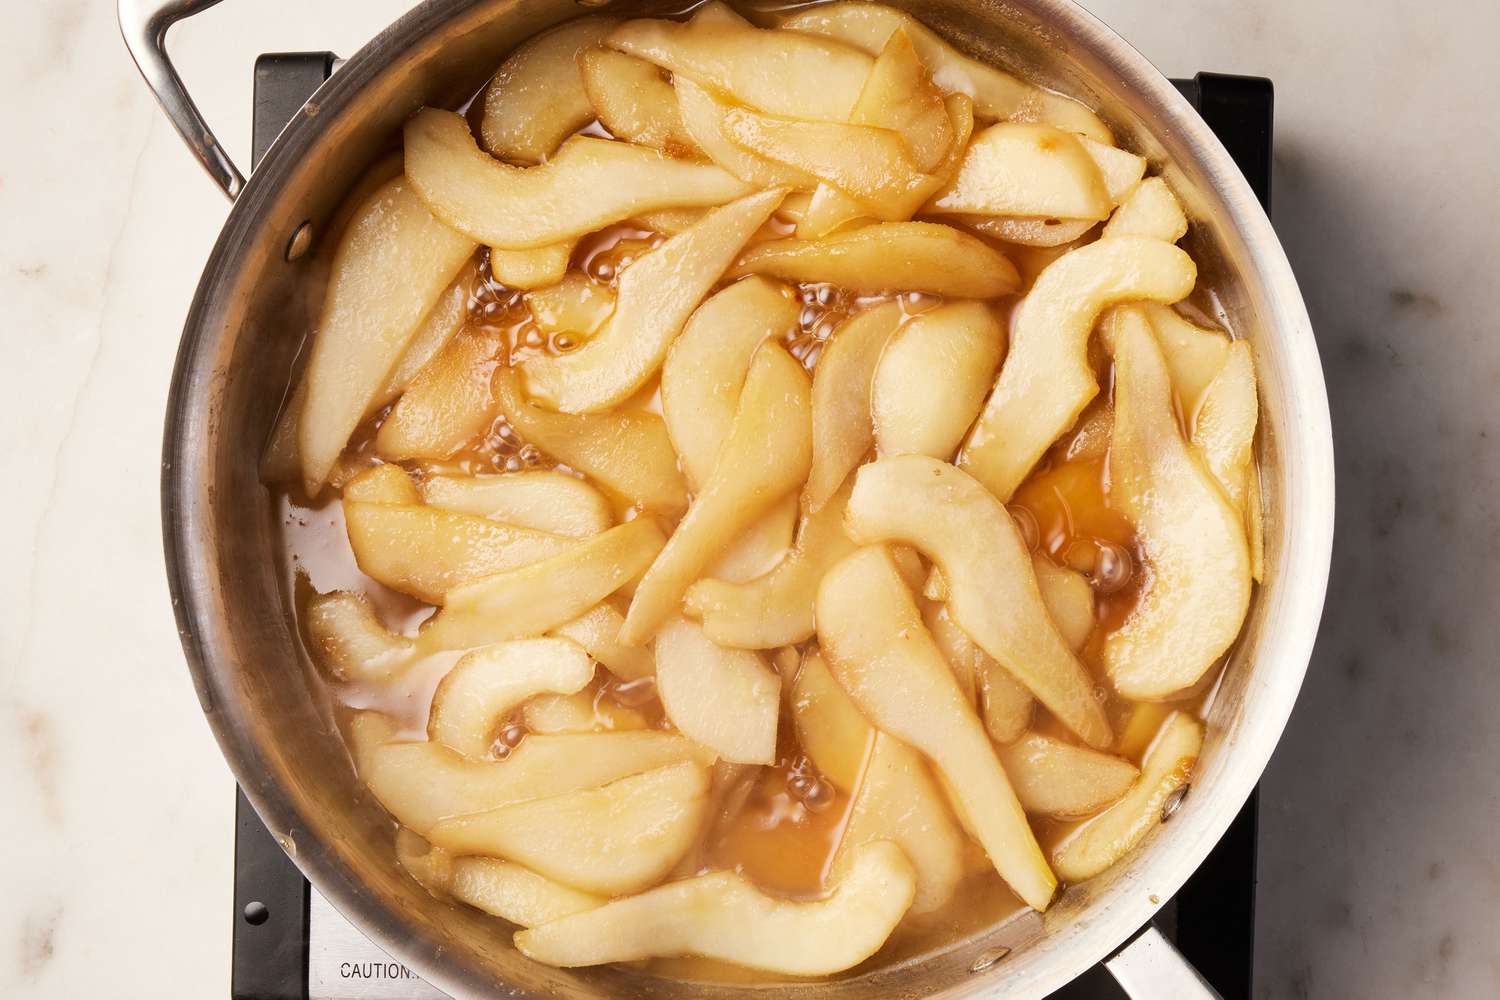
Melt 4 tablespoons (2 ounces) salted butter in a large skillet over medium-high. Stir in 4 medium (6 ounces each) firm-ripe Bosc pears, cored, stemmed, and cut into 1/4-inch-thick slices, 1/2 cup packed light brown sugar, and 1 teaspoon vanilla extract (if using). Cook over medium-high heat, stirring often, until the pears are tender and the brown sugar mixture begins to thicken, 8 to 10 minutes.
The Spruce Eats / Photographer: Jenn Causey, Food Stylist: Julian Hensarling Prop Stylist: Christine Keely
-
Remove 1 baking sheet from the refrigerator. Evenly divide and arrange half of the cooked pears over the center of each pastry square, reserving the brown sugar syrup in the pan for later.
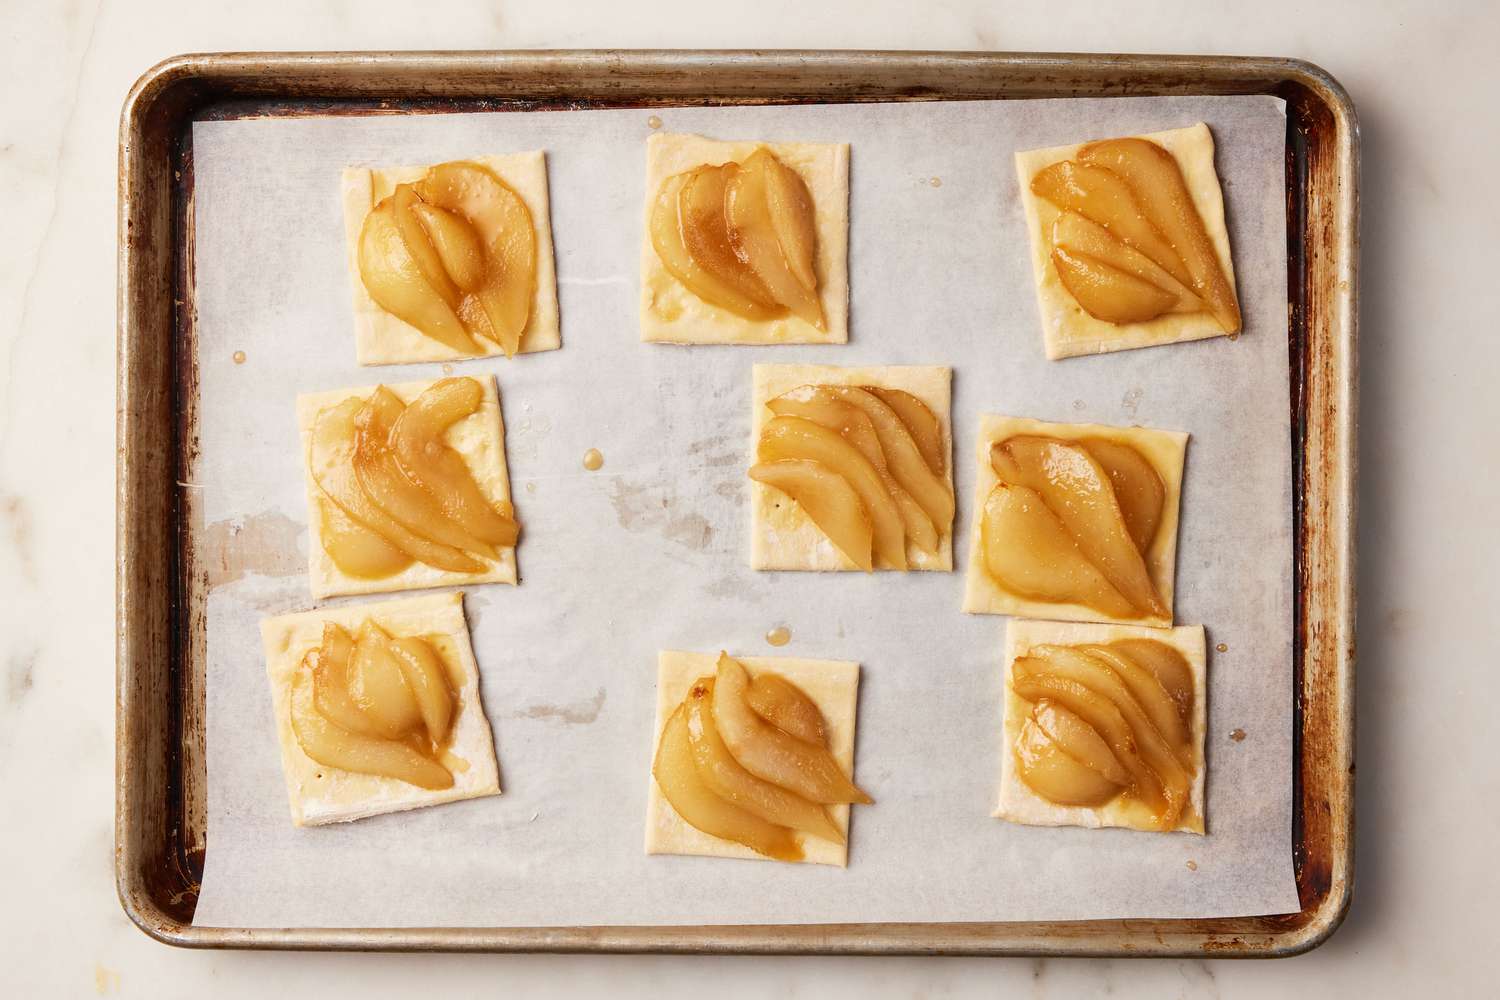
The Spruce Eats / Photographer: Jenn Causey, Food Stylist: Julian Hensarling Prop Stylist: Christine Keely
-
Bake until the edges of the pastries are puffed and golden brown, 15 to 20 minutes. Repeat steps 5 and 6 with the remaining cooked pears and the pastry squares on the second baking sheet.
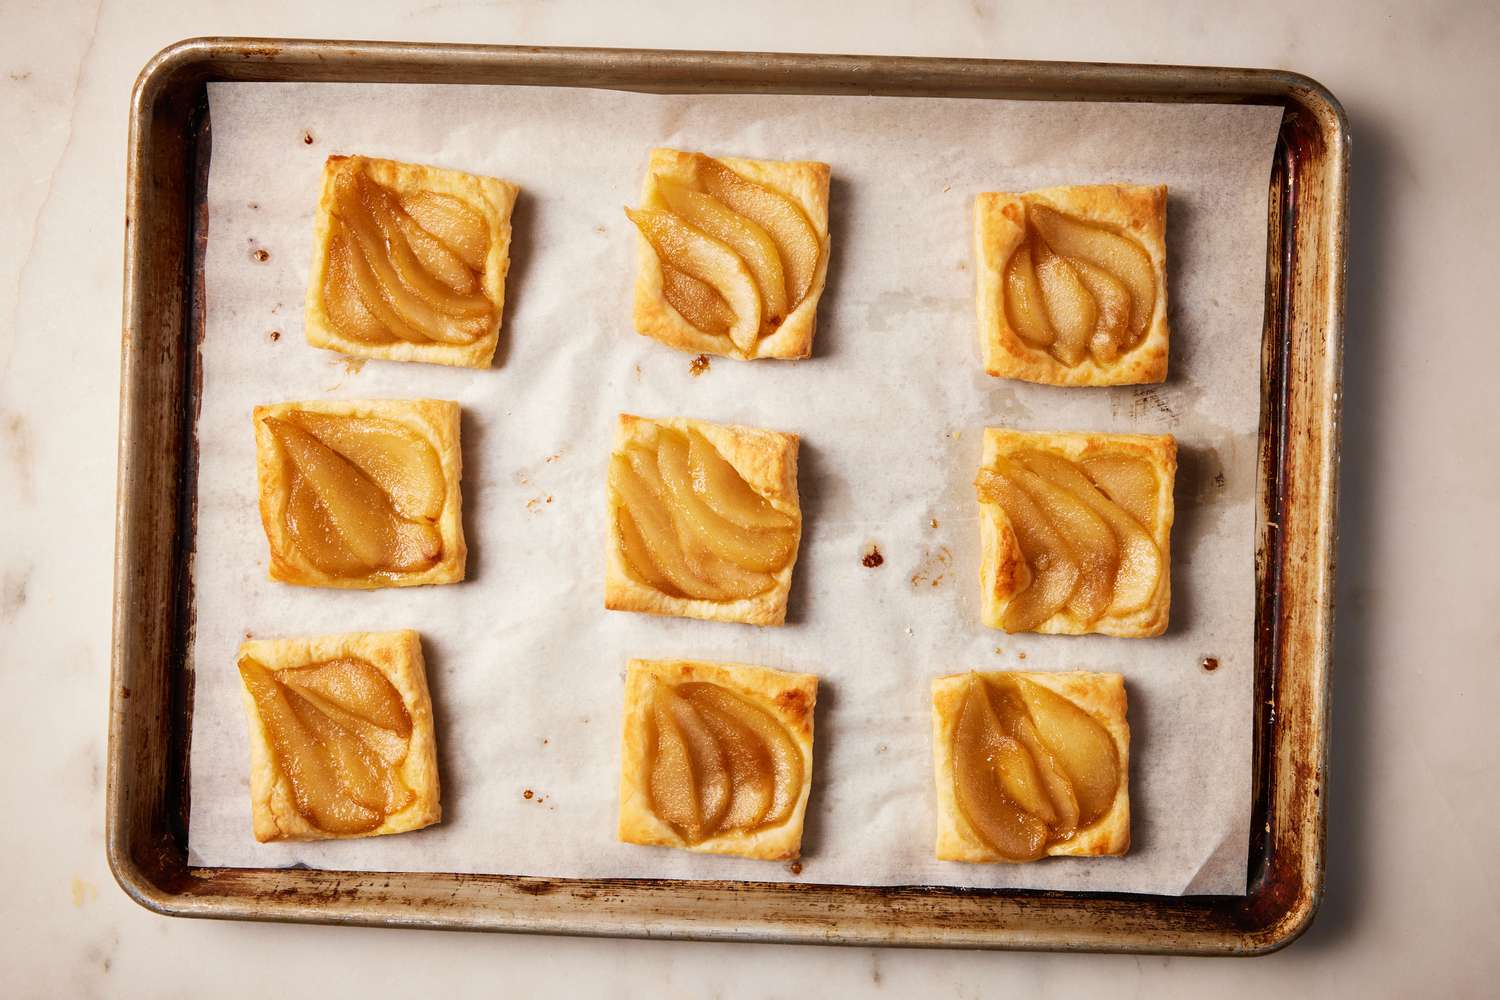
The Spruce Eats / Photographer: Jenn Causey, Food Stylist: Julian Hensarling Prop Stylist: Christine Keely
-
Drizzle the pears on each tart with the brown sugar syrup in the pan. Garnish the tarts with powdered sugar, if desired. Serve warm.
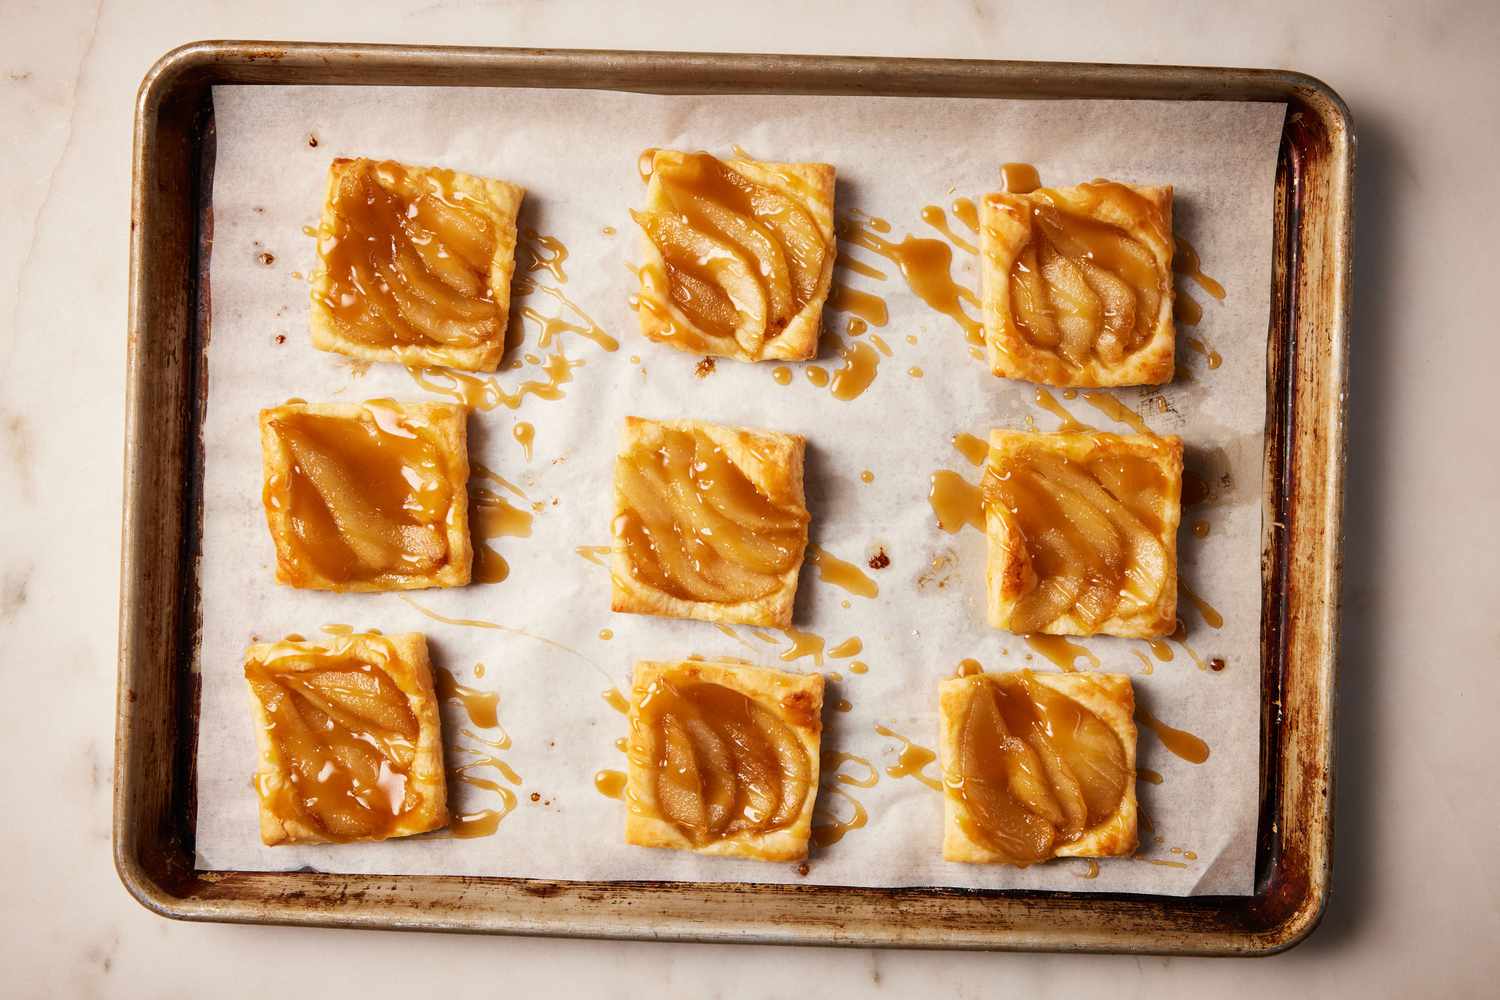
The Spruce Eats / Photographer: Jenn Causey, Food Stylist: Julian Hensarling Prop Stylist: Christine Keely
How To Store
Keep leftover pear tarts refrigerated in an airtight container for up to 3 days. They will be best if reheated in the oven until warmed through and the bottom of the pastry is crisp again.
Feeling Adventurous? Try This:
- Use apples instead of pears.
- Add in different spices like cinnamon or ginger.
