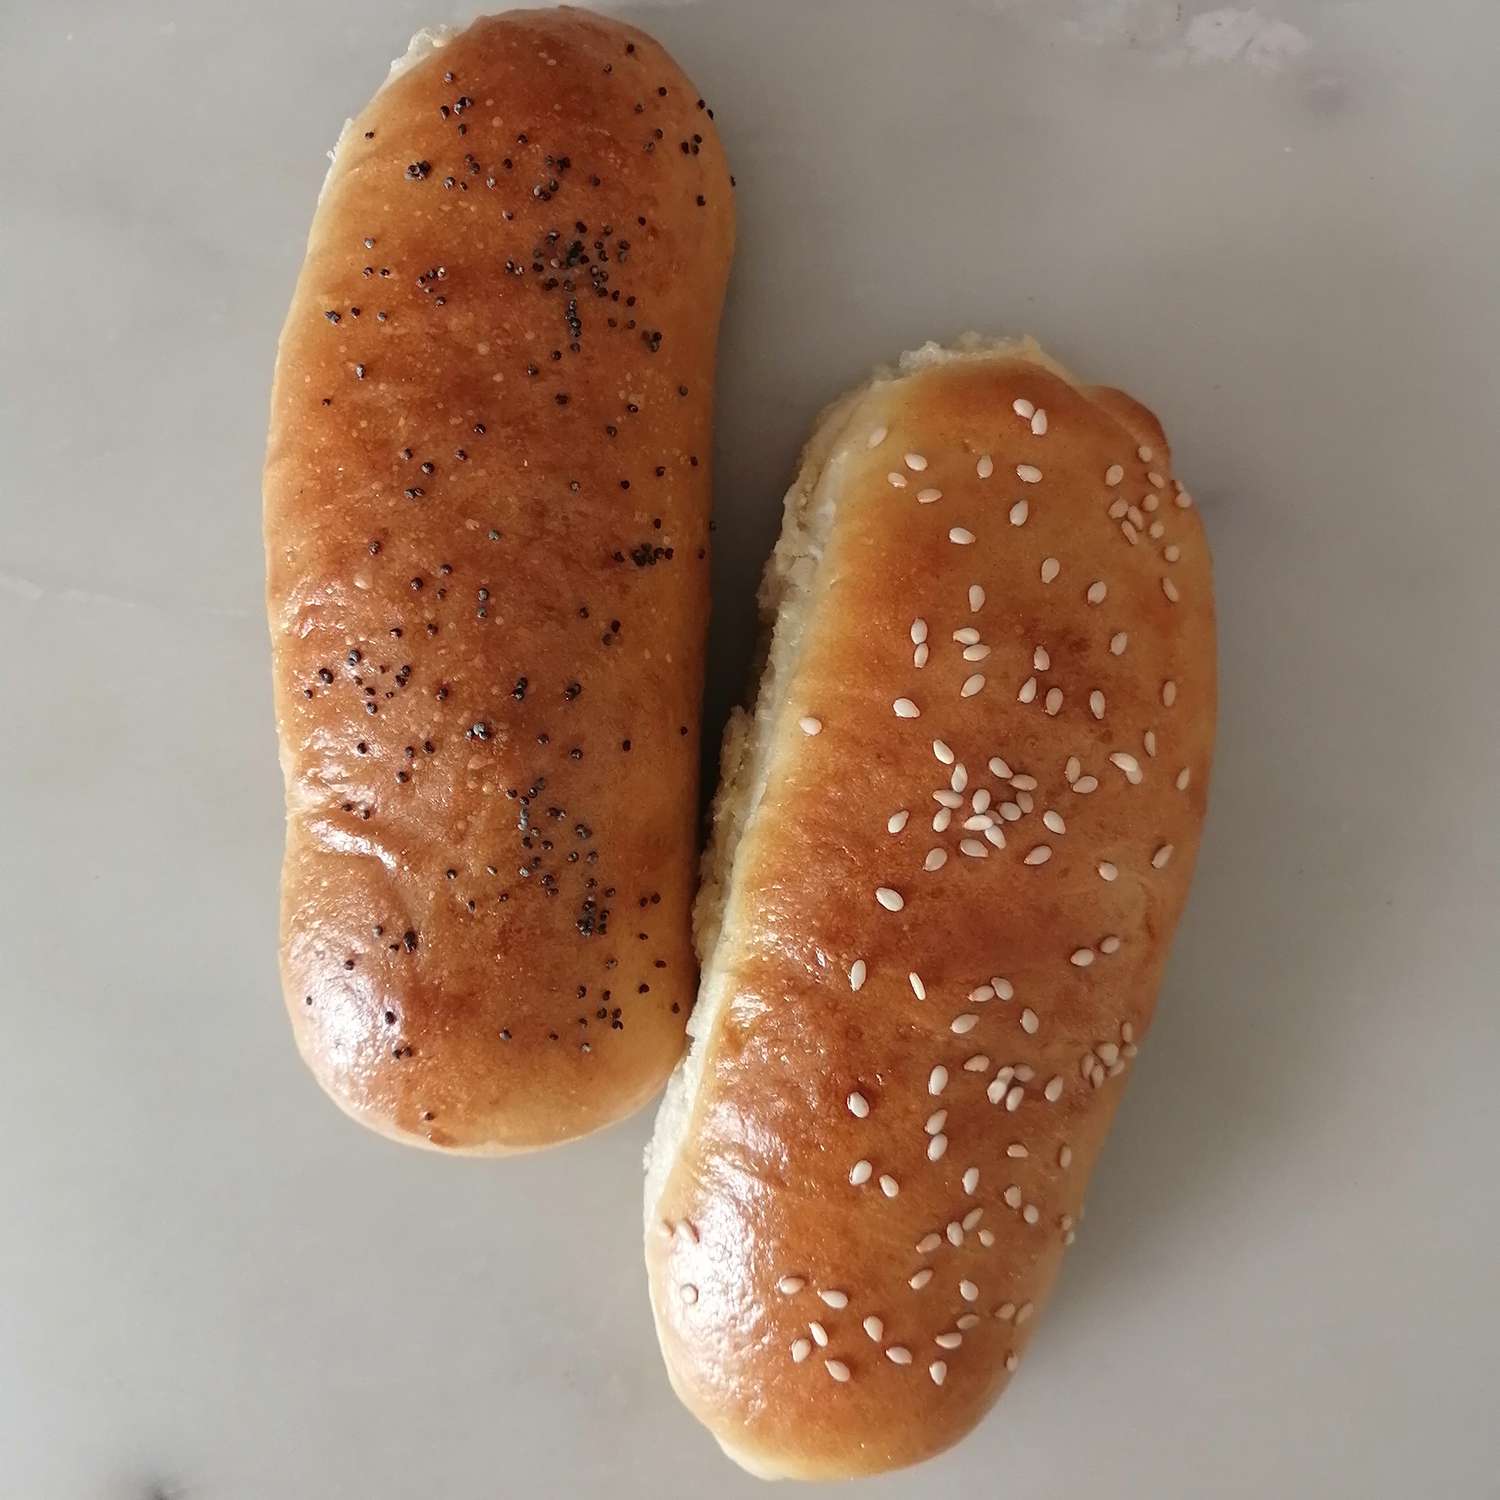
Sure you can buy hot dog buns at the grocery, but there’s something about a homemade bun made just how you like it that changes the game. This recipe in particular creates 20 fluffy, buttery brioche buns made for stuffing with everything from hot dogs to lobster for the ultimate sandwich.
Now, if you're already going the extra mile to make your own buns, you might as well do it right. That means taking the time and care, to make these as rich and soft as possible. The dough comes together in minutes, so most your time is spent hands-off to let it properly proof. This refers to the resting period when the dough quite literally experiences fermentation. Alcohol produced by the yeast during fermentation—along with several other reactions—is what gives the bread its characteristic flavor and aroma. Generally speaking, more fermentation means tastier bread. Each step is well worth the effort for the tastiest end result.
That said, these buns aren’t just meant for your favorite hot dog combo. The serve as the perfect vessel for lobster rolls, po’ boy sandwiches, chicken salad, and more. As summer creeps in and Memorial Day Weekend approaches, this bun will be your picnic and barbecue go-to.
“You’ll never go back to store-bought buns after you’ve tried making these! I used these for hot dogs, but the buttery texture would be delicious for lobster rolls too. They freeze really well, so are perfect for making ahead of time and then defrosting the day before a barbecue or big gathering.” —Julia Hartbeck
A Note From Our Recipe Tester
Ingredients
-
1/2 cup water
-
2 cups milk, divided
-
7 cups all-purpose flour, divided, more for the work surface
-
1 tablespoon + 2 teaspoons instant dry yeast
-
2 tablespoons granulated sugar
-
2 teaspoons kosher salt
-
2 large eggs, divided
-
6 tablespoons unsalted butter, room temperature, more for the bowl
-
Sesame or poppy seeds
Steps to Make It
-
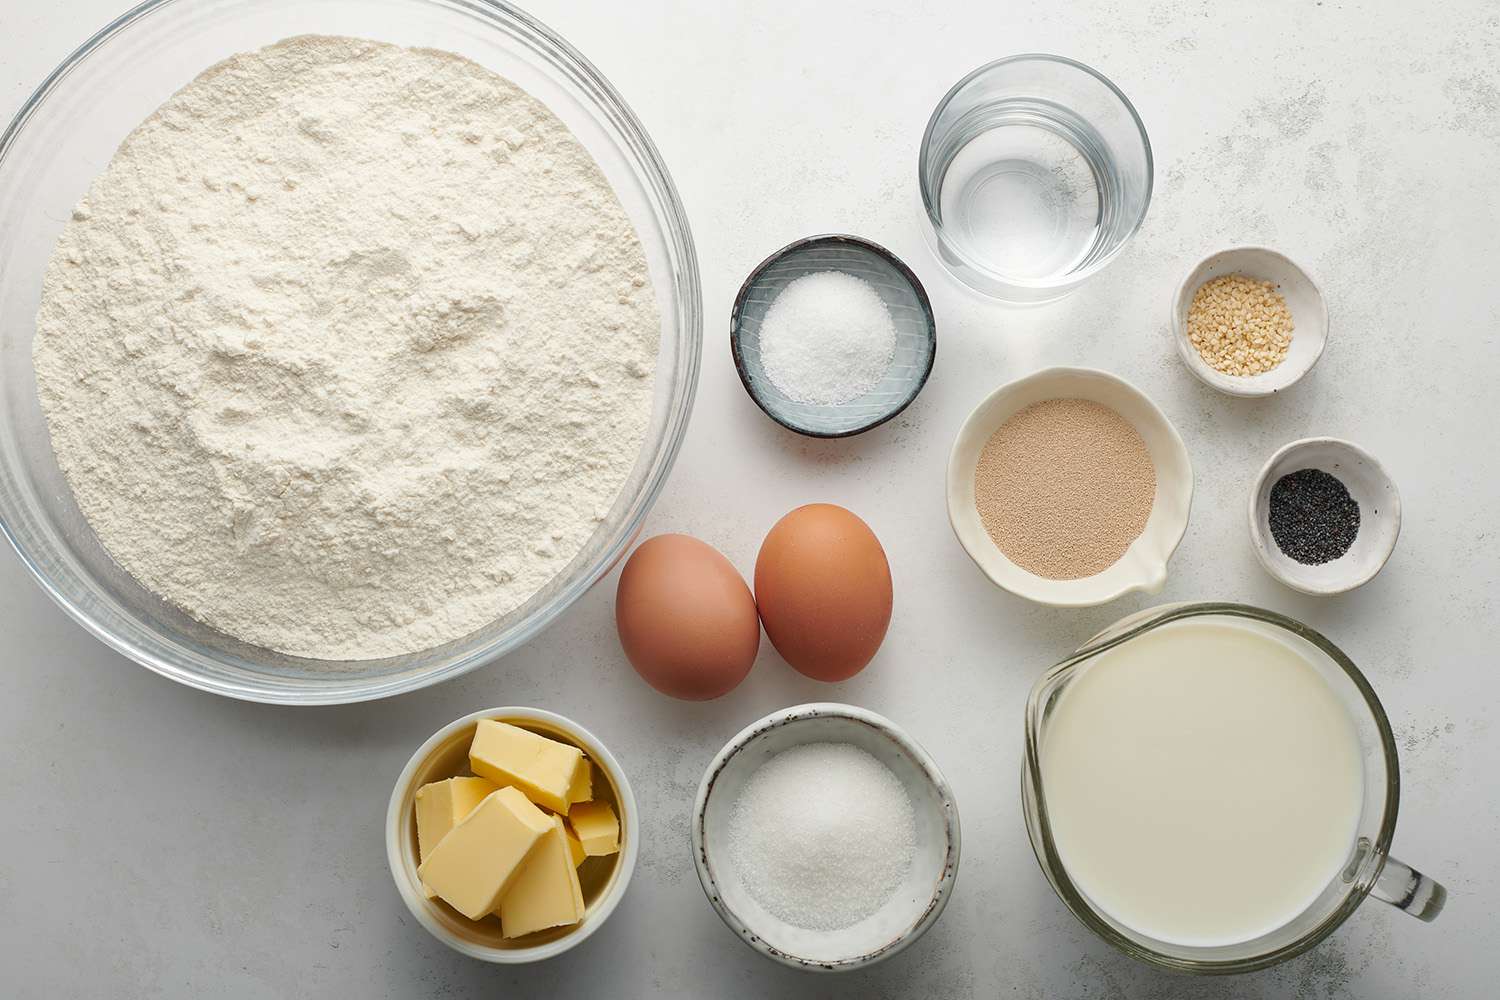
Gather the ingredients.
The Spruce Eats / Julia Hartbeck
-
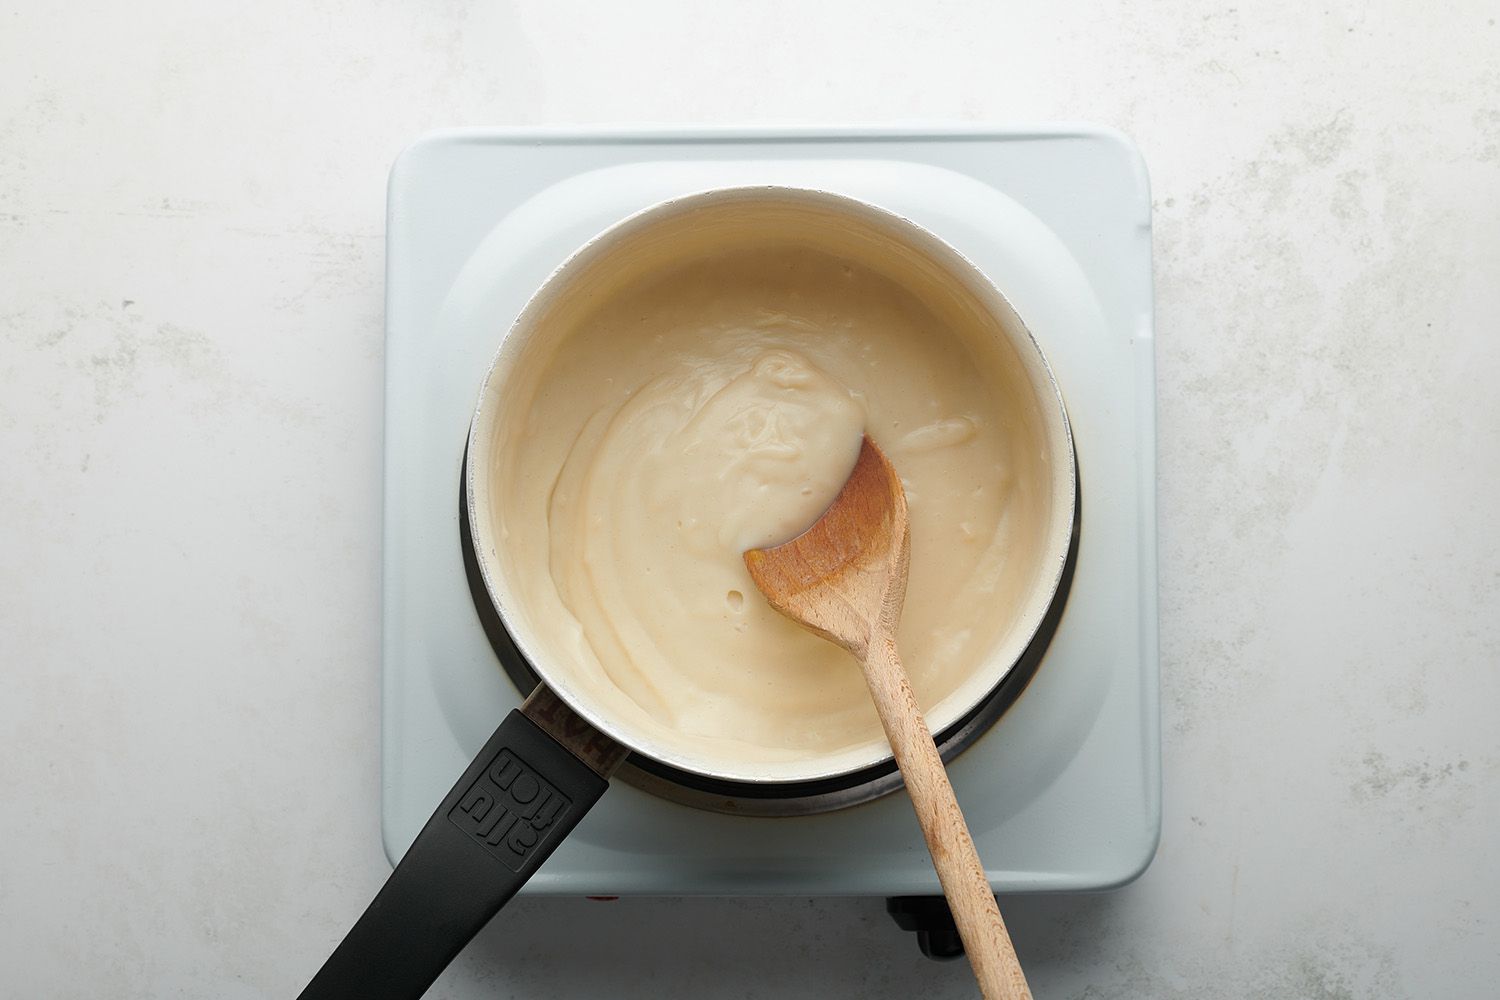
Add the water, 3/4 cup of the milk, and 1/2 cup of the flour to a medium saucepan, stirring to combine. Cook the mixture, stirring constantly, until thickened into a slurry paste, 1 to 2 minutes.
The Spruce Eats / Julia Hartbeck
-
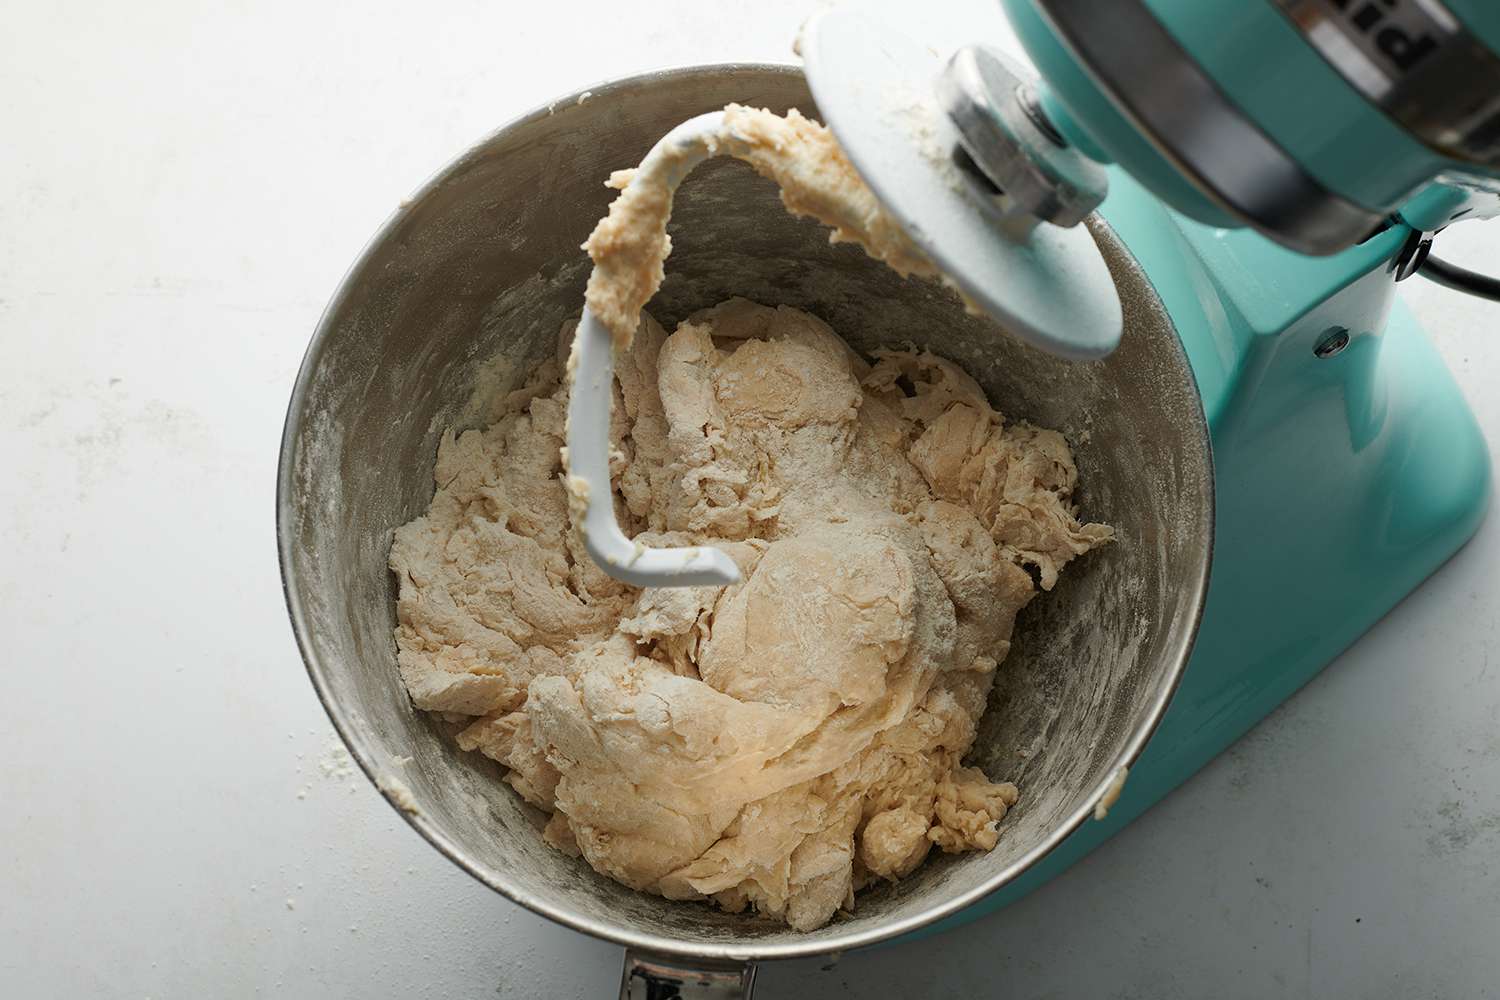
Transfer the cooked mixture to the bowl of a stand mixer fitted with the dough hook attachment. Add the remaining 1 1/4 cups milk, the yeast, sugar, and salt. Stir briefly to combine. With the machine on medium speed, add the remaining 6 1/2 cups flour, 1/2 cup at a time, mixing until the dough begins to come together, scraping down the bowl as necessary. The dough will look dry and shaggy.
The Spruce Eats / Julia Hartbeck
-
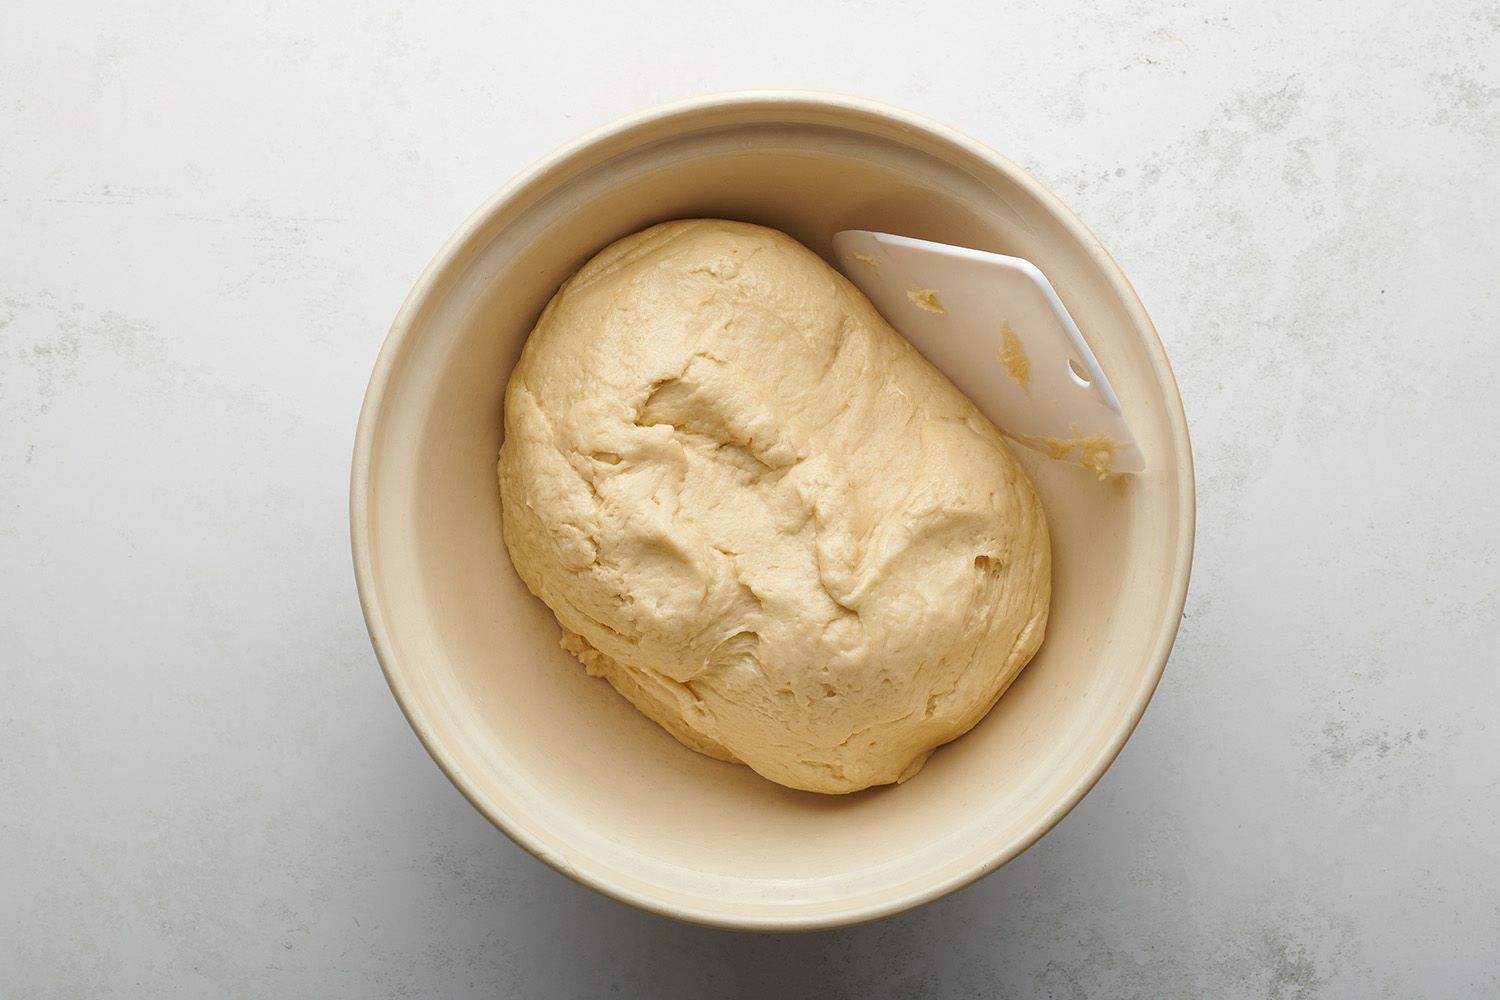
Add 1 egg and the butter. Knead until the dough begins to pull away from the sides of the bowl and comes together into a smooth, elastic ball. Continue to knead the dough to promote gluten development, about 5 minutes longer. The dough will be sticky. Scrape the dough to a lightly greased bowl. Turn to coat the dough in the bowl.
The Spruce Eats / Julia Hartbeck
-
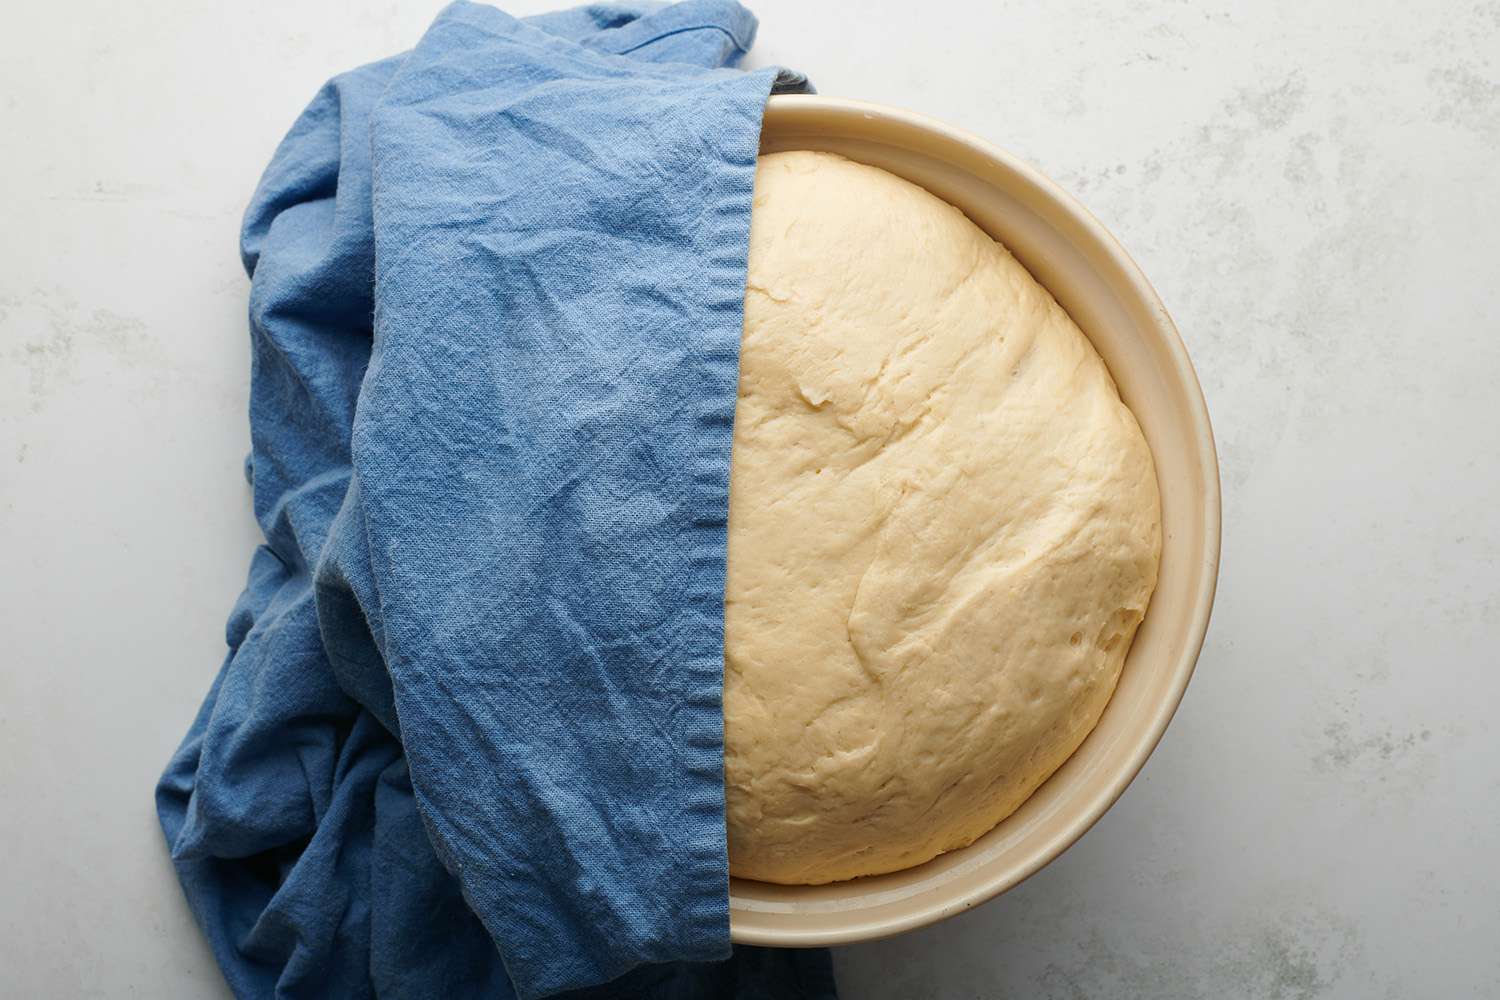
Cover the bowl with a clean, damp kitchen towel. Let the dough rise in a warm place until doubled in size, about 1 hour. Alternatively, you can let the dough rise in the fridge overnight, which can make shaping the buns easier. Line 2 large baking sheets with parchment. Set aside.
The Spruce Eats / Julia Hartbeck
-
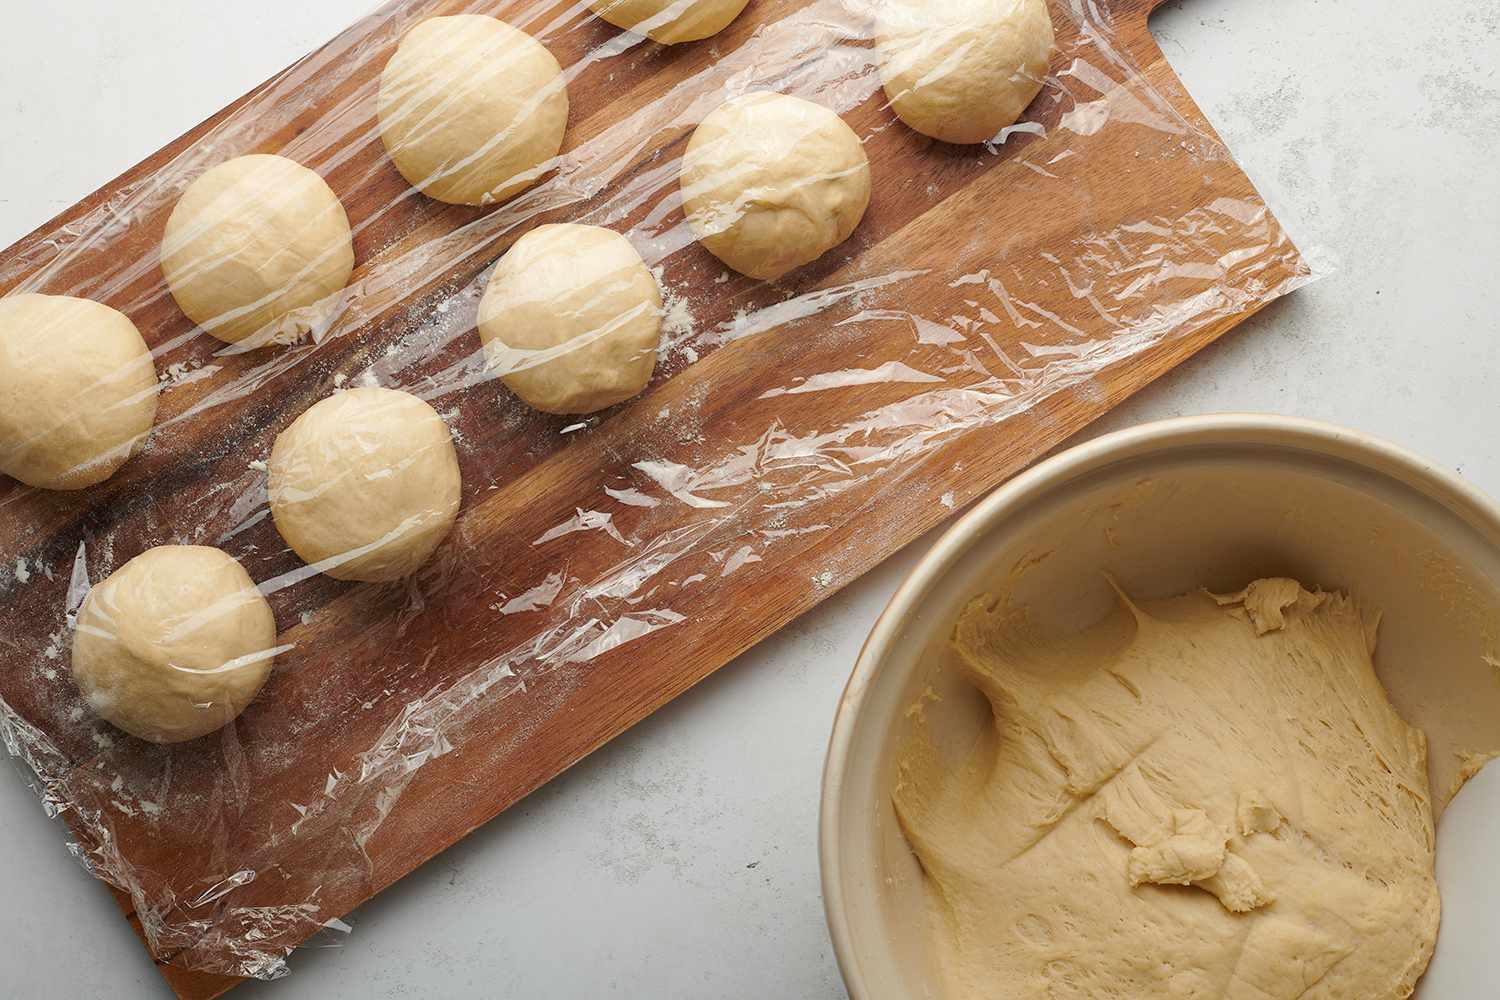
Turn the dough out onto a lightly floured work surface. Divide the dough into equal 20 portions, about 90 grams each. Knead each portion briefly to form a smooth ball, covering the balls lightly with plastic wrap as you go to prevent the dough from drying out.
The Spruce Eats / Julia Hartbeck
-
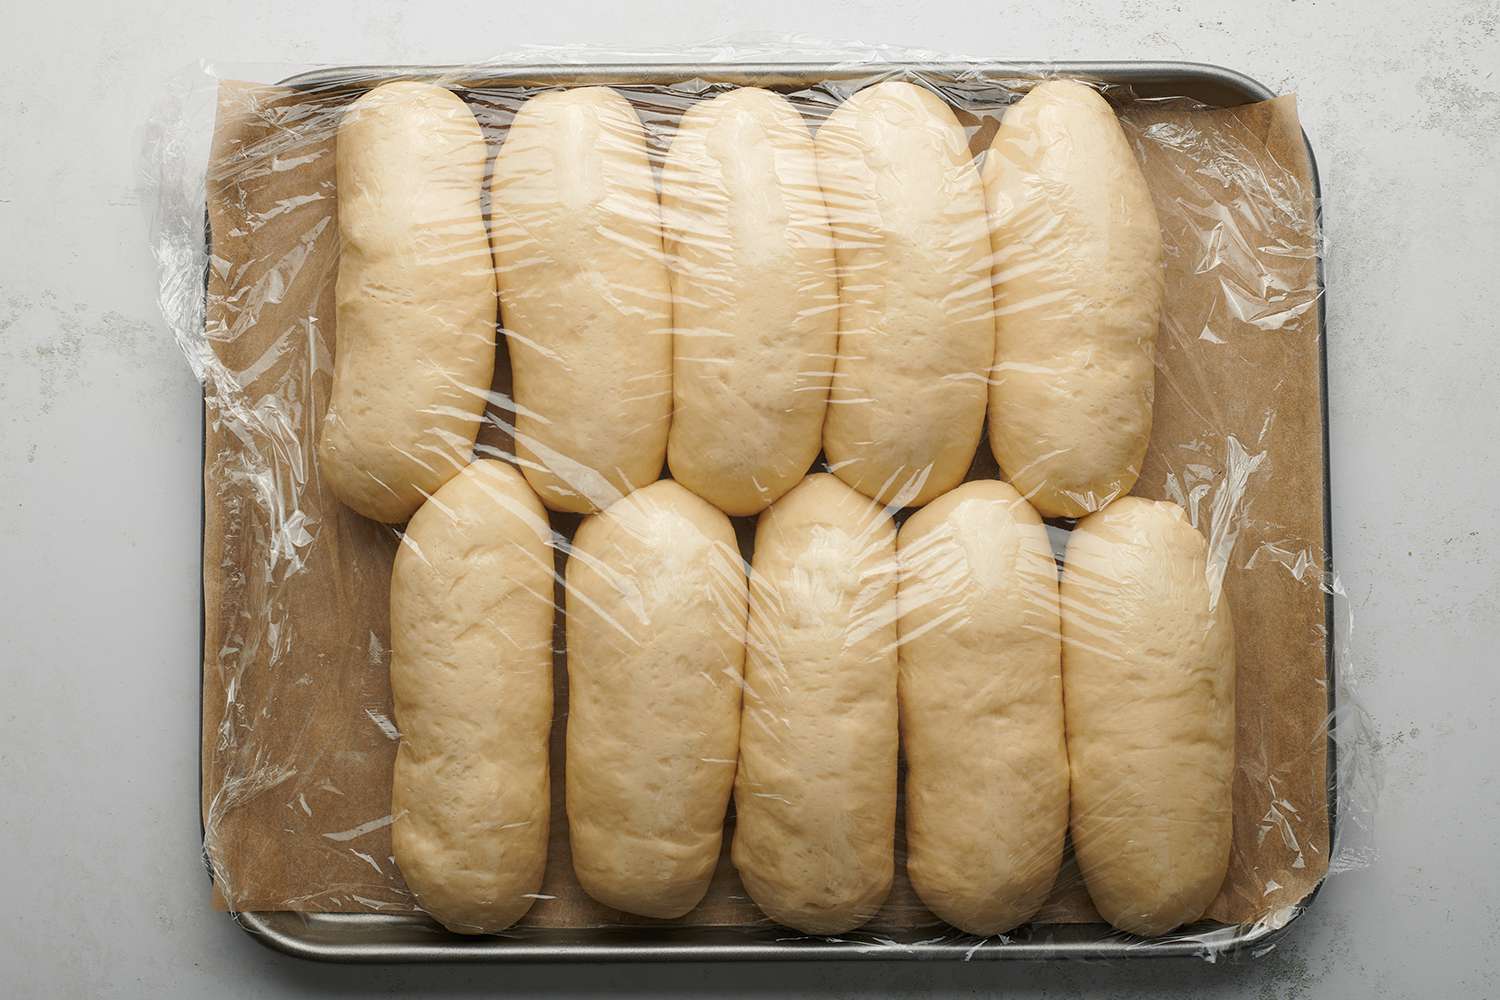
Flatten and stretch the portions into about 5 to 6 inch long and 4 inch wide rectangle (doesn't have to be exact, just try to flatten the dough into a rectangle). Starting on the long side, tightly roll up the dough into a cylinder, tucking in the sides.
Transfer to the prepared baking sheets, placing each about 1/2-inch apart, 10 rolls per pan. Cover with plastic wrap and let rise in a warm place until almost doubled in size, about 1 1/2 hours.
The Spruce Eats / Julia Hartbeck
-
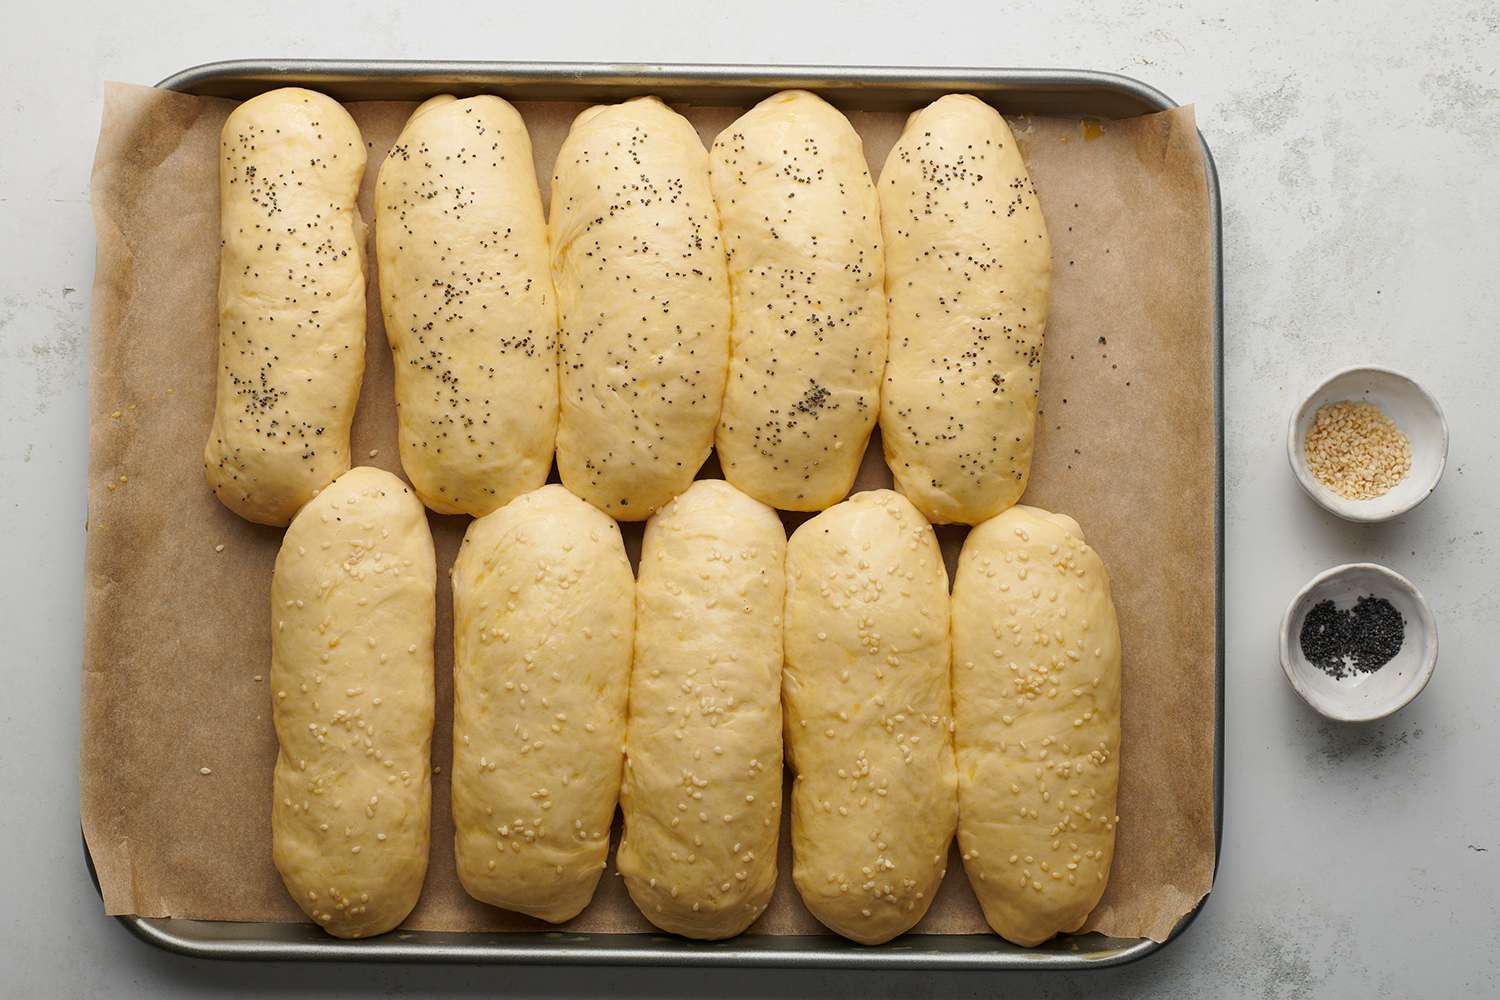
When you have about 10 minutes left of proofing, position 2 racks in the upper and lower third of the oven and heat to 400 F.
In a small bowl, whisk together the remaining egg with 1 teaspoon water to make an egg wash. Brush the buns with the egg wash, then sprinkle with sesame seeds, poppy seeds, or a mixture of both.
The Spruce Eats / Julia Hartbeck
-
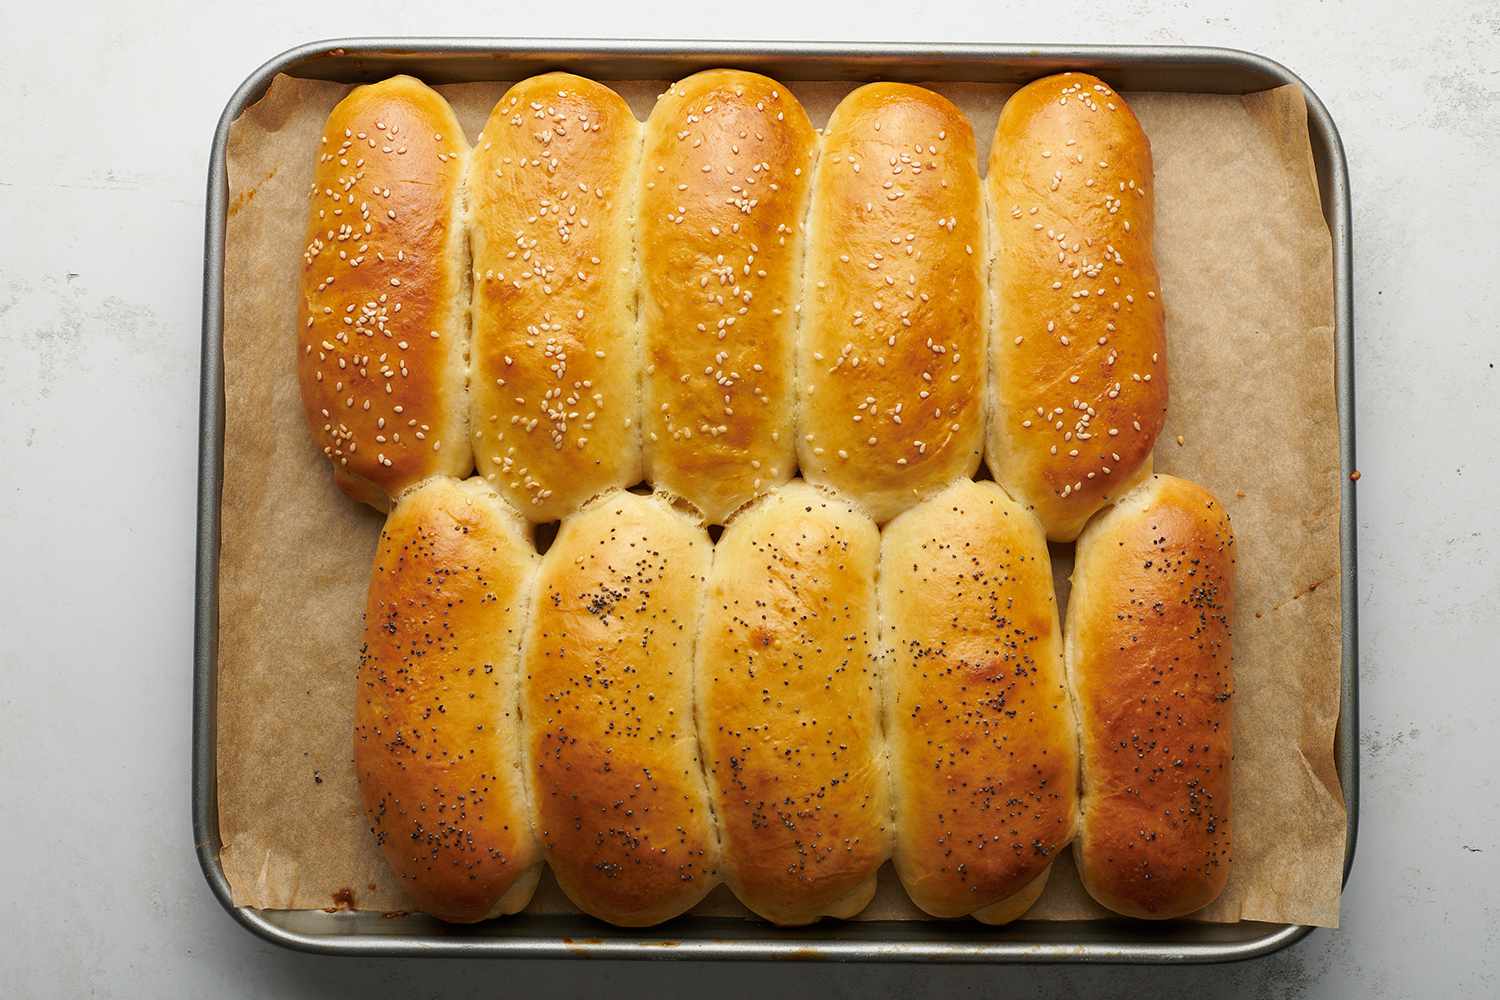
Bake the buns until the tops are golden brown, flipping the trays half way through, 10 to 12 minutes total.
The Spruce Eats / Julia Hartbeck
-
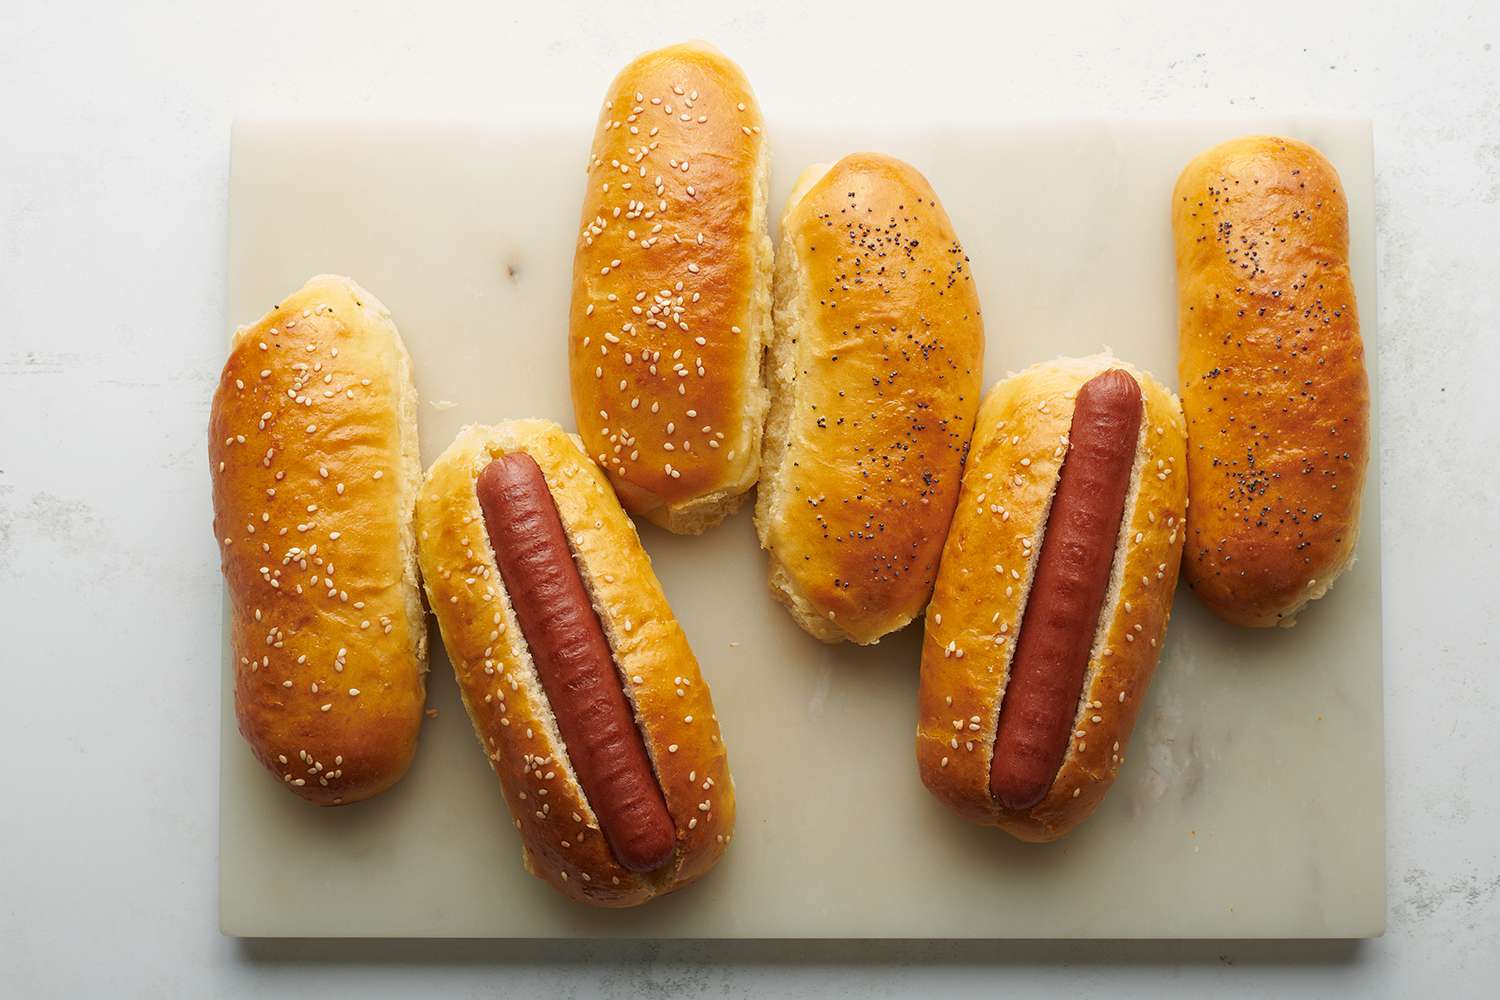
Let cool on the baking sheet for 5 minutes. Transfer to a wire rack to finish cooling. Slice as desired and stuff with your favorite hot dog or sandwich filling.
The Spruce Eats / Julia Hartbeck
Recipe Tips
- For an even richer bun, brush the buns with melted butter once you remove them from the oven.
- Avoid over-flouring your work surface when shaping the buns as this will add more flour to the dough and make them denser rather than soft. It will also make rolling them harder.
Recipe Variations
- You can substitute active dry yeast for instant yeast by increasing the amount to 2 teaspoons. In step 3, microwave the remaining milk in a liquid measuring cup until warmed, about 30 seconds. Whisk in 1 tablespoon of the sugar, then sprinkle the yeast over the top. Let stand 5 to 10 minutes until yeast is foamy. Proceed with the remaining recipe.
- You can use a non-dairy milk in place of the regular milk.
- You can use a 50/50 combination of whole wheat flour and all-purpose flour for this recipe, but the buns will be a bit denser.
Storage
- Store the fully baked buns in a resealable bag or airtight container for up to 5 days.
- You can freeze the portions and shaped dough on a parchment-lined baking sheet, then transfer to a resealable bag or airtight container once firm to the touch. Store for up to 2 months. Note, the second proofing will be longer.
- You can freeze the fully baked buns in a resealable bag or airtight container for up to 2 months. Defrost in the fridge, then reheat in a 300 F oven or microwave.
