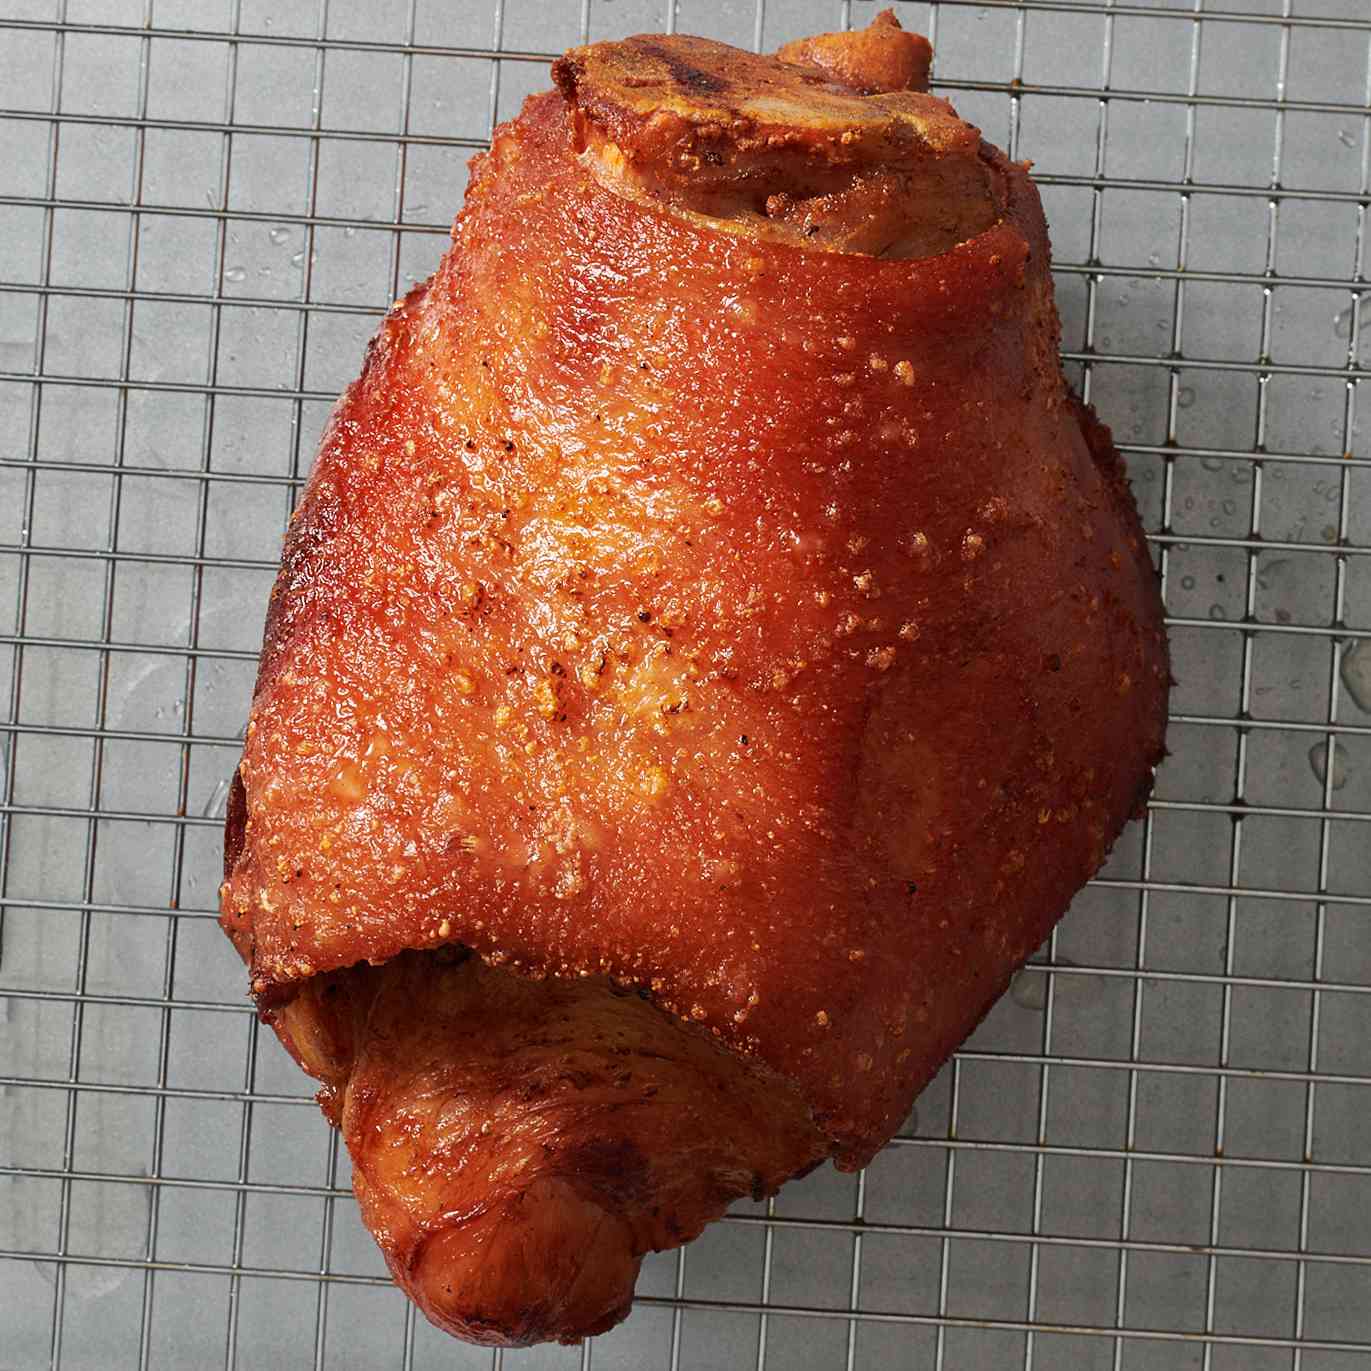
Crispy pata is a Filipino dish you’ll find at celebrations or at your local drinking establishment as pulutan, something you order when you’re out drinking with friends. It translates to crispy leg, more specifically the ham hock, aka pig’s knuckles.
The Legendary Story of Crispy Pata
Legend has it that the dish was created at a restaurant outside Manila called Barrio Fiesta. The owner's son would bring in his friends after school and feed them without charging them. One day his mother noticed ham hocks in the kitchen not being used for any menu items and fried them in an effort to save money. And so a new fried delicacy was born.
What Cut of Pork to Use
In the United States, the cut of pork sold as “ham hock” is often small and smoked. For this recipe you will need to find a fresh pork leg or shank, preferably with the foot still attached. To source this specialty cut, find a good butcher that breaks down whole animals, or a local pig farmer who would be willing to sell you this cut.
Steps to Success: Braise, Dry, and Fry
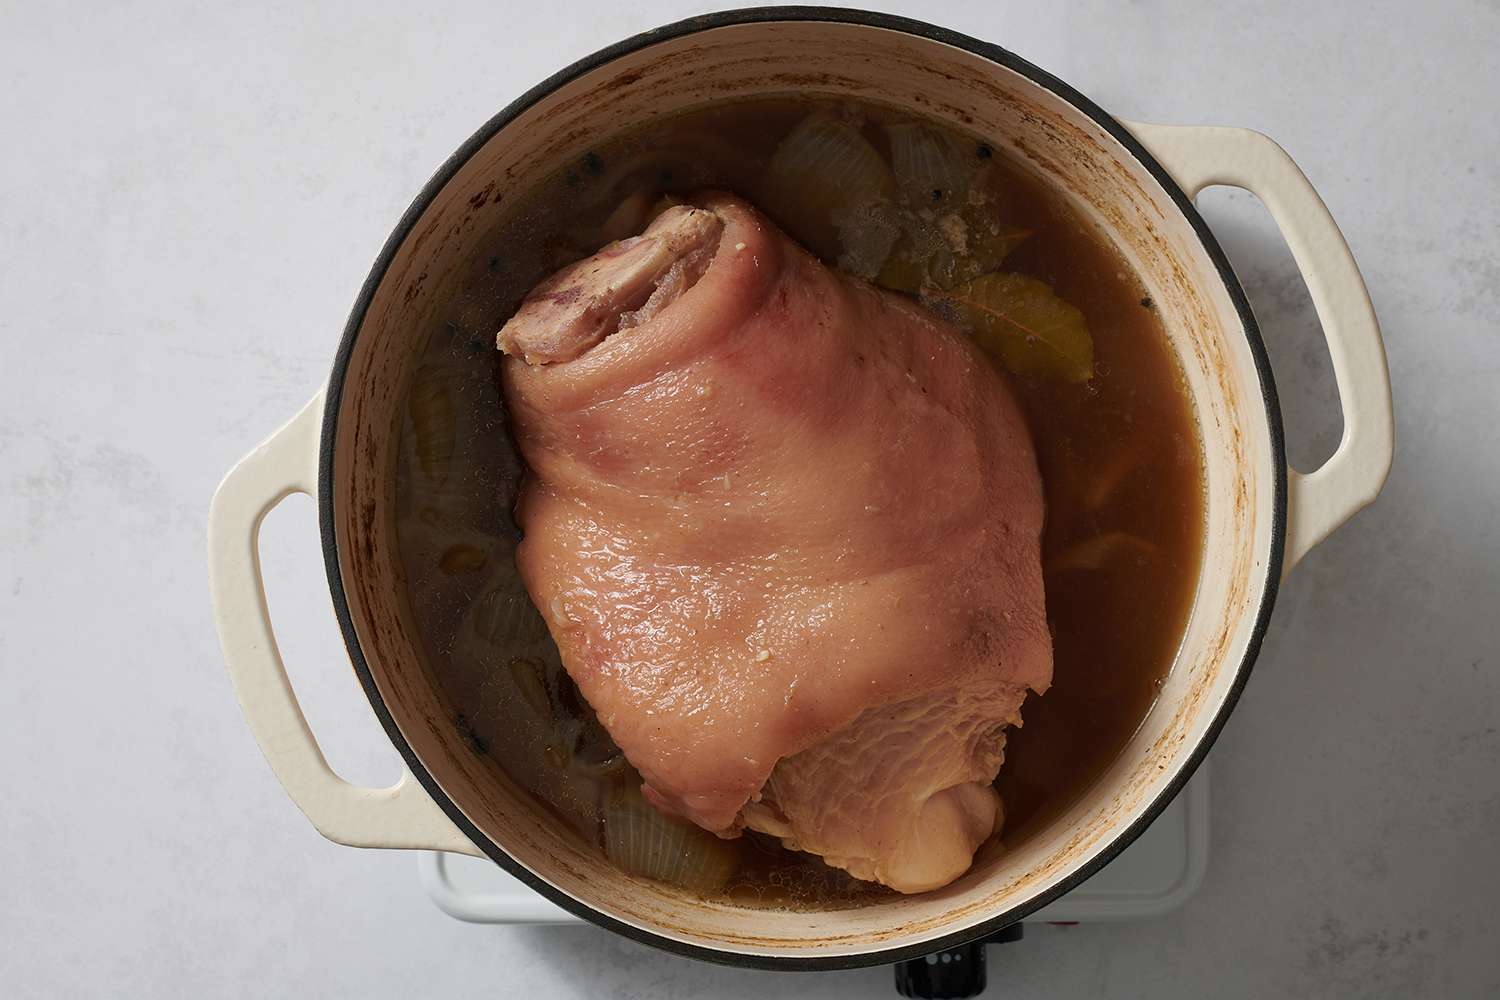
There are a few important steps in the cooking process: braising, deep frying, and patience. Ham hock, or the bottom half of the pork leg, is not the fattiest cut of pork but is covered with skin and contains lots of collagen. Cuts like this need a longer cook time to break down the collagen, which results in moist and flavorful meat.
After braising, the pork leg needs to dry to ensure crispy skin and not too much sputtering while deep frying. That's where patience comes in because it's best to dry the braised hock overnight before completing the last step—deep frying.
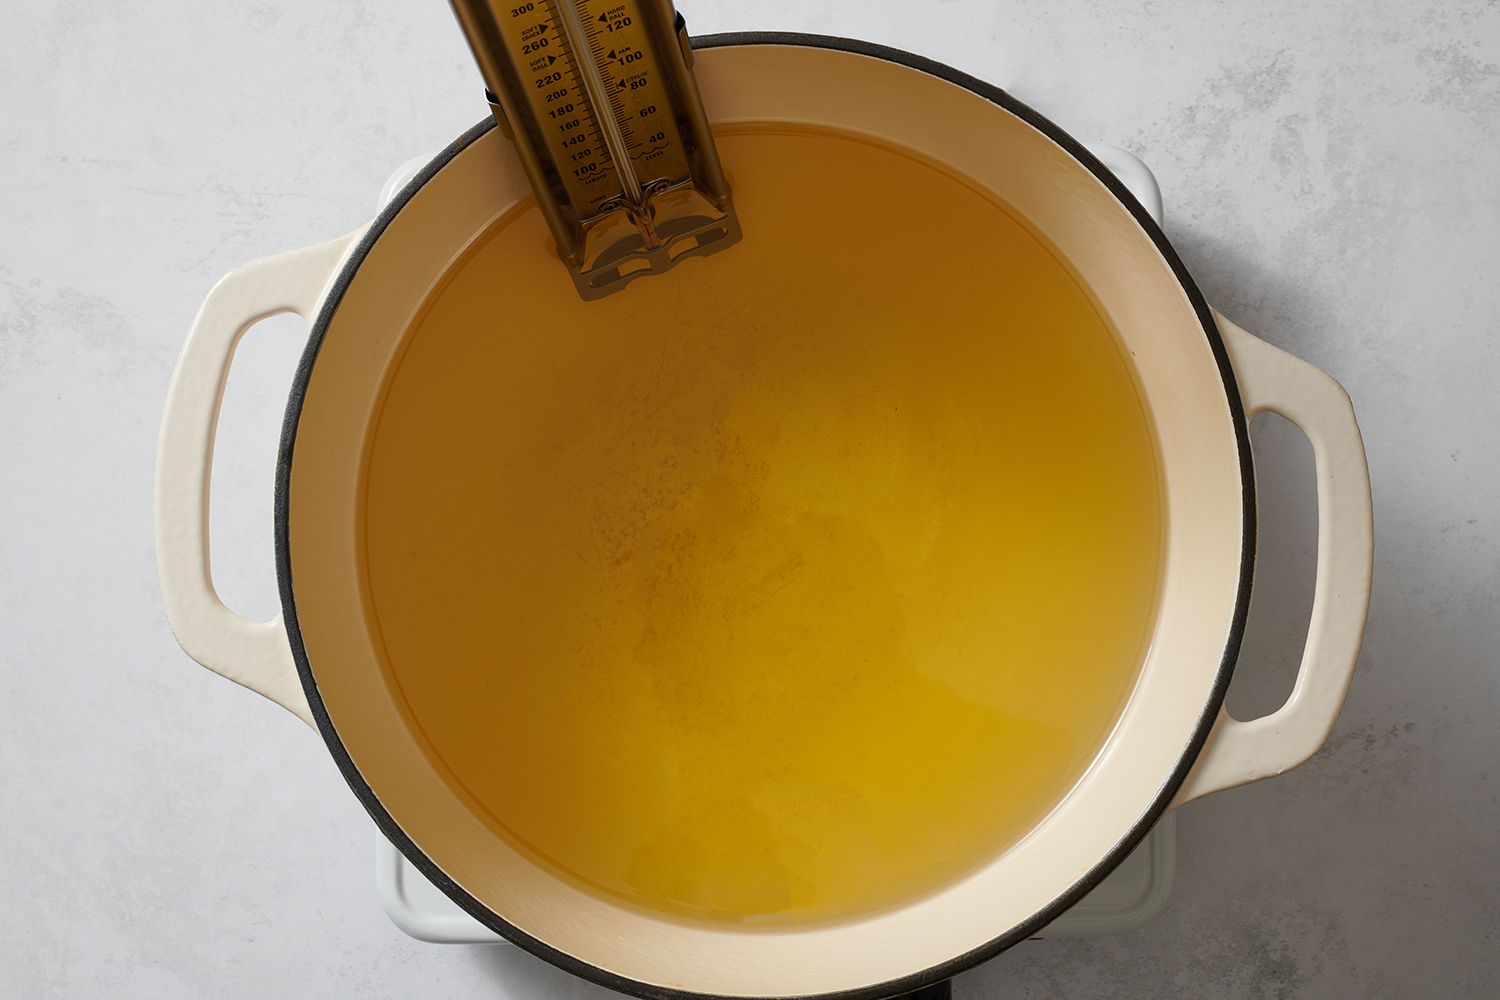
To deep-fry the pork leg, make sure you use enough oil and a deep, heavy pot like a Dutch oven. To determine how much oil to use, place the pork leg in the pot and add oil until it comes 2/3 to 3/4 of the way up the sides of the meat. Then remove the meat and heat up the oil.
When you add the pork leg to the hot oil, the temperature will drop. To mitigate this, you can heat the oil a bit above 365 F (370 to 375 F), and then, when you add the pork leg to the oil, increase the heat to high until the temperature has recovered. Just be sure to keep a close eye on the temperature to avoid overshooting.
If you follow the steps below, you'll be rewarded with crispy skin, tender meat, and a lot of happy faces.
“This does take a while to cook and prepare, but it’s definitely worth it for the flavorful crispy skin that has been infused by the aromatics. Be careful that the temperature of your oil doesn’t drop too much when you first put the ham hock into the pot, or you won’t get it sufficiently crispy.” — Julia Hartbeck
A Note From Our Recipe Tester
Ingredients
For the Crispy Pata:
-
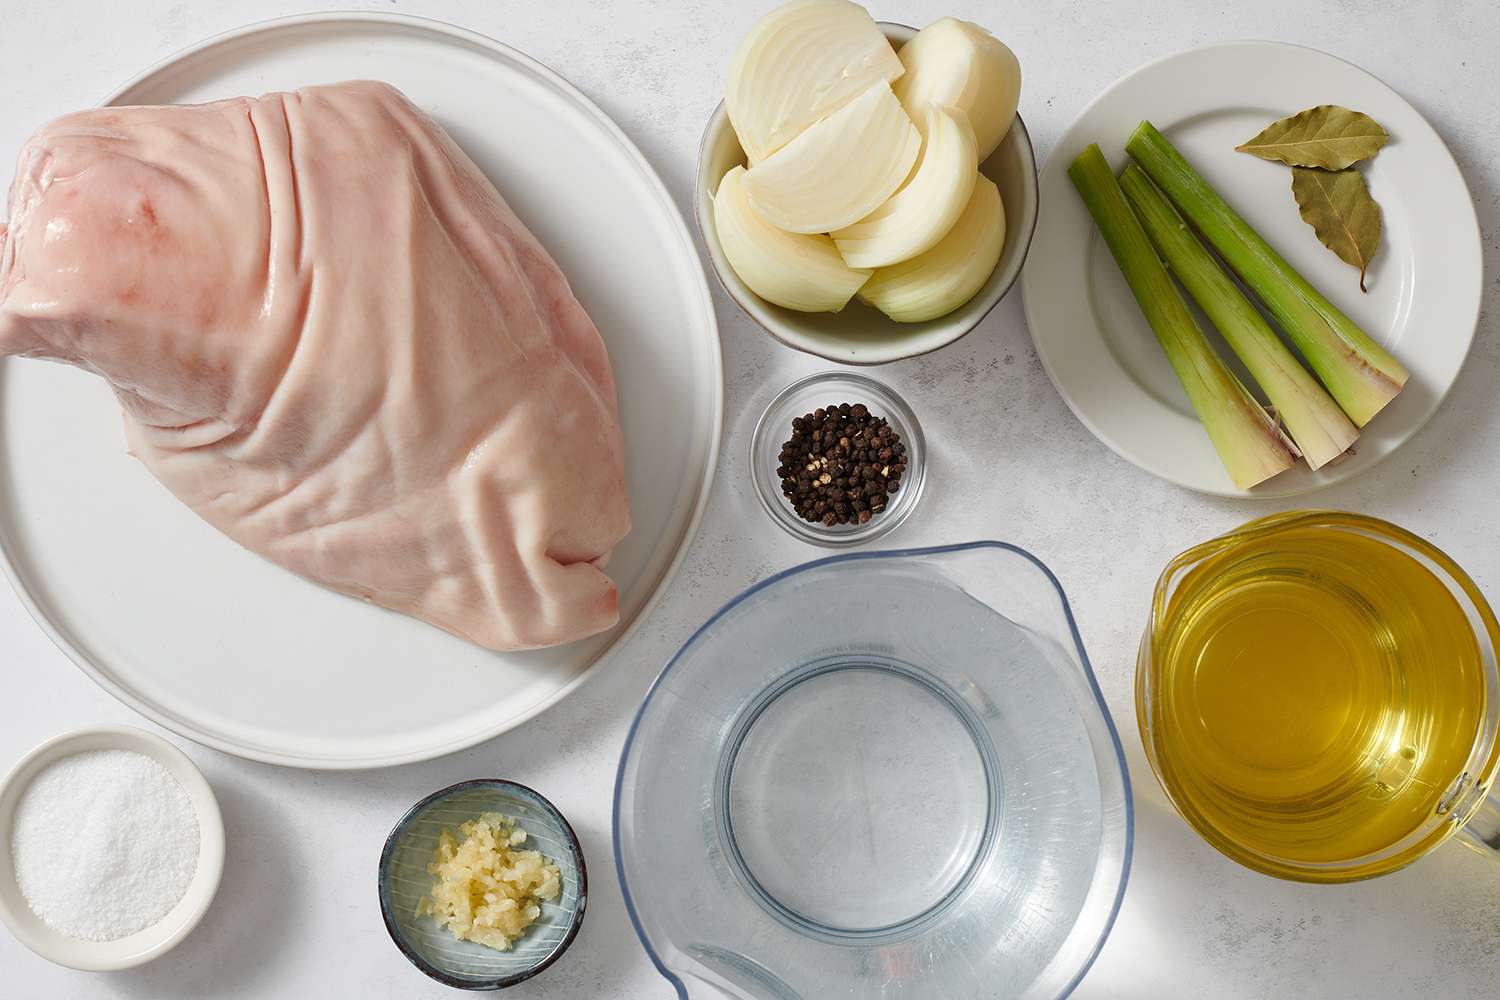
1 fresh pork leg (the hock down to the foot), 3 1/2 to 4 1/2 pounds
-
3 stalks lemongrass, crushed
-
2 medium onions, peeled and quartered
-
5 cloves garlic, crushed
-
1 tablespoon whole black peppercorns
-
2 bay leaves
-
2 tablespoons Diamond Crystal kosher salt
-
2 to 4 quarts water, or enough to cover hock
-
2 to 4 quarts vegetable oil, for frying, or enough to come 3/4 of the way up the sides of the pork leg
For the Dipping Sauce:
-
1 cup cane vinegar
-
1/4 cup soy sauce
-
3 Thai chilies, sliced
Steps to Make It
Note: while there are multiple steps to this recipe, this dish is broken down into workable categories to help you better plan for preparation and cooking.
Make the Crispy Pata
-
Gather the ingredients.
The Spruce Eats / Julia Hartbeck
-
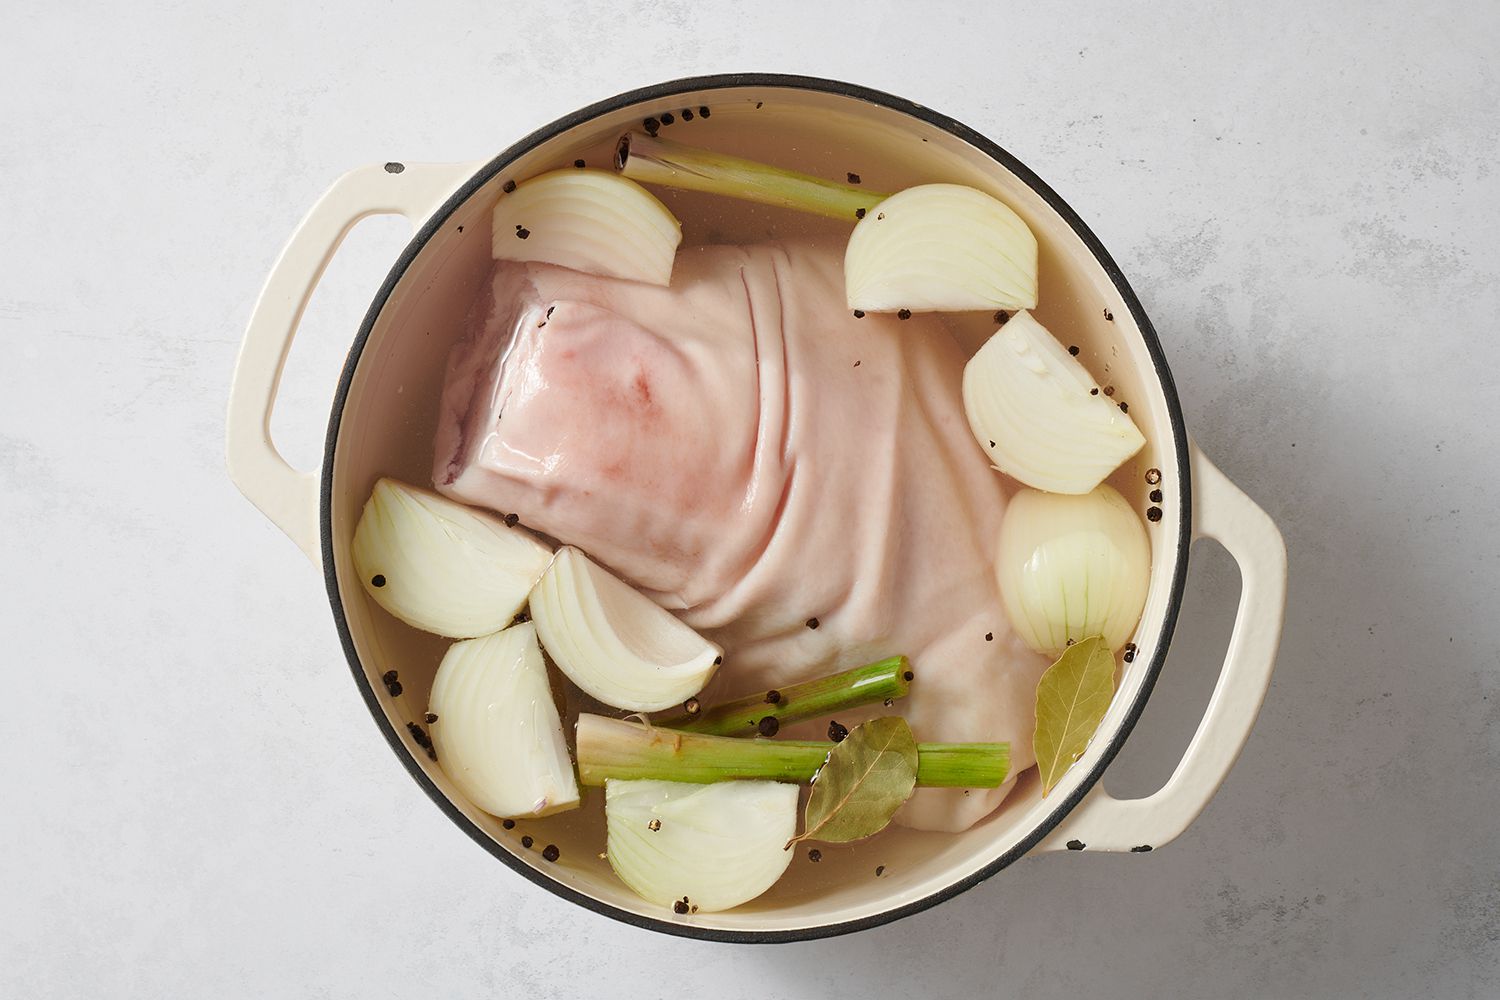
Add the pork leg, lemongrass, onions, garlic, peppercorns, bay leaves, salt, and water to a Dutch oven.
The Spruce Eats / Julia Hartbeck
-
Bring to a boil and reduce the heat to a simmer. Cook for 2 to 3 hours until the meat is tender but not falling apart.
The Spruce Eats / Julia Hartbeck
-
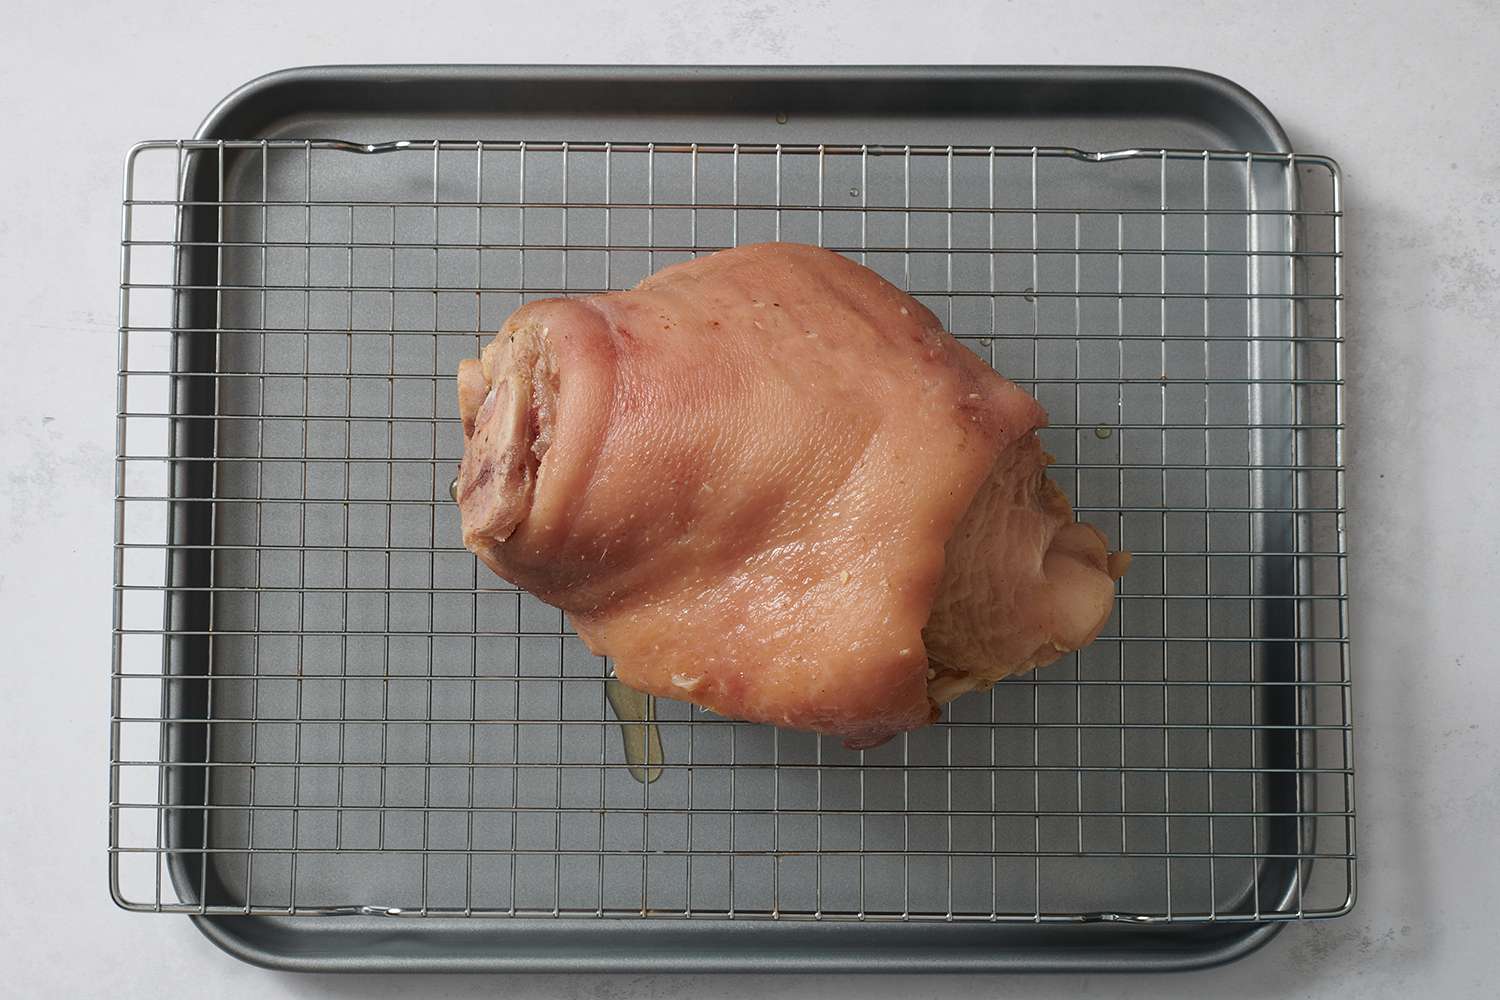
Remove the pork leg from the braising liquid and place on a cooling rack set on a sheet pan.
The Spruce Eats / Julia Hartbeck
-
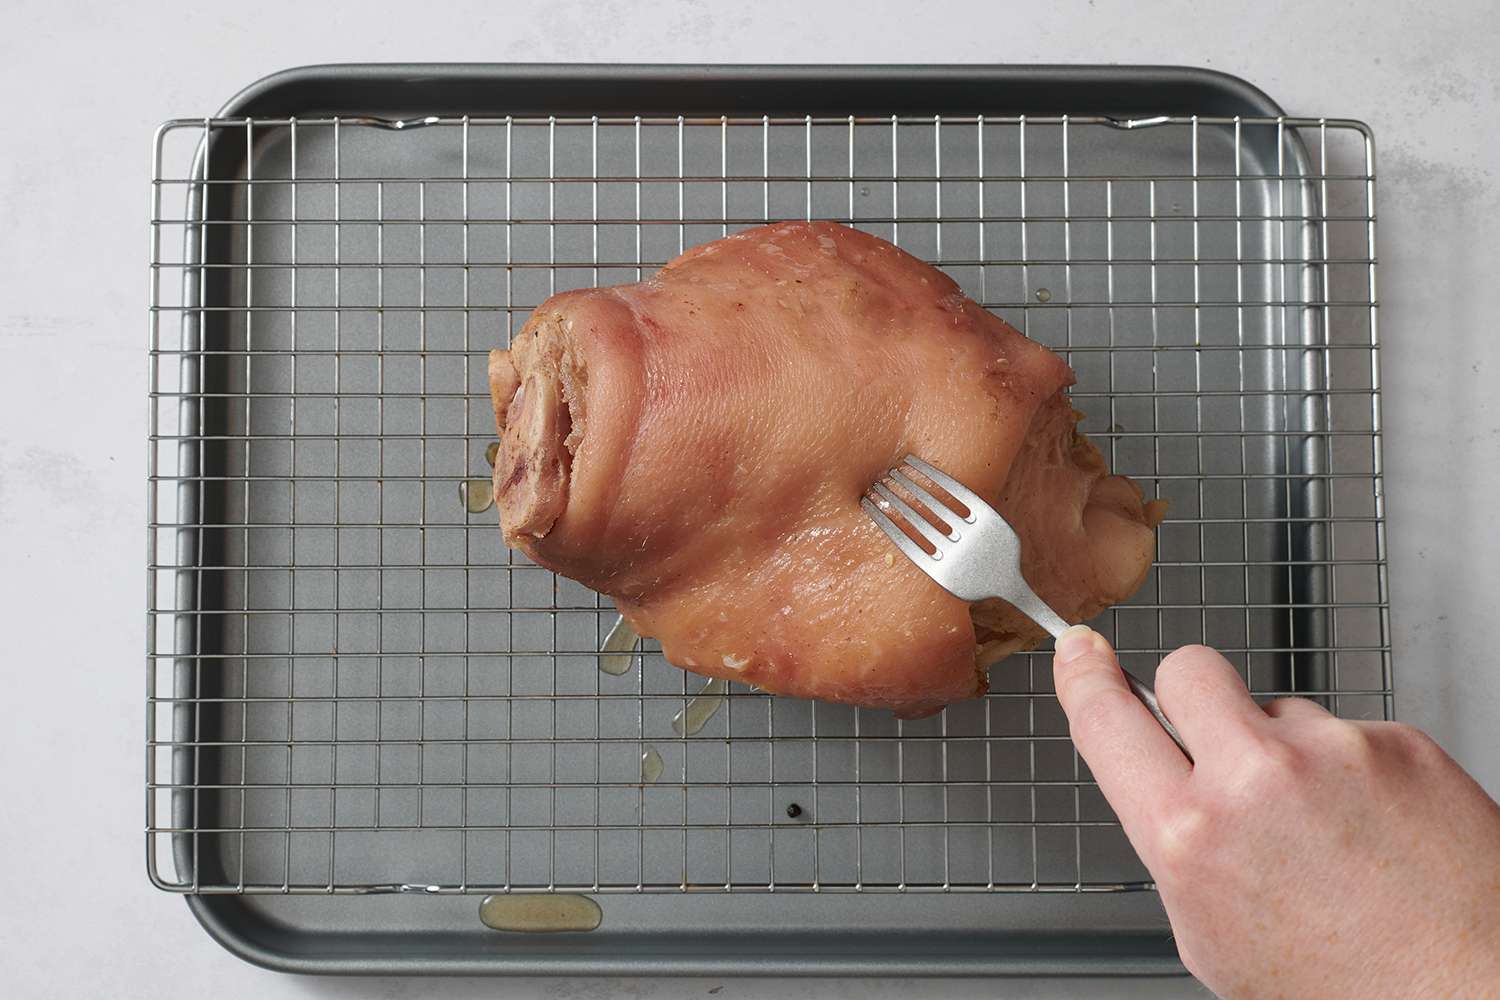
When the meat is cool enough to handle, poke the skin all over with a paring knife or the tines of a fork. Refrigerate, uncovered, for 6 to 12 hours or overnight.
The Spruce Eats / Julia Hartbeck
-
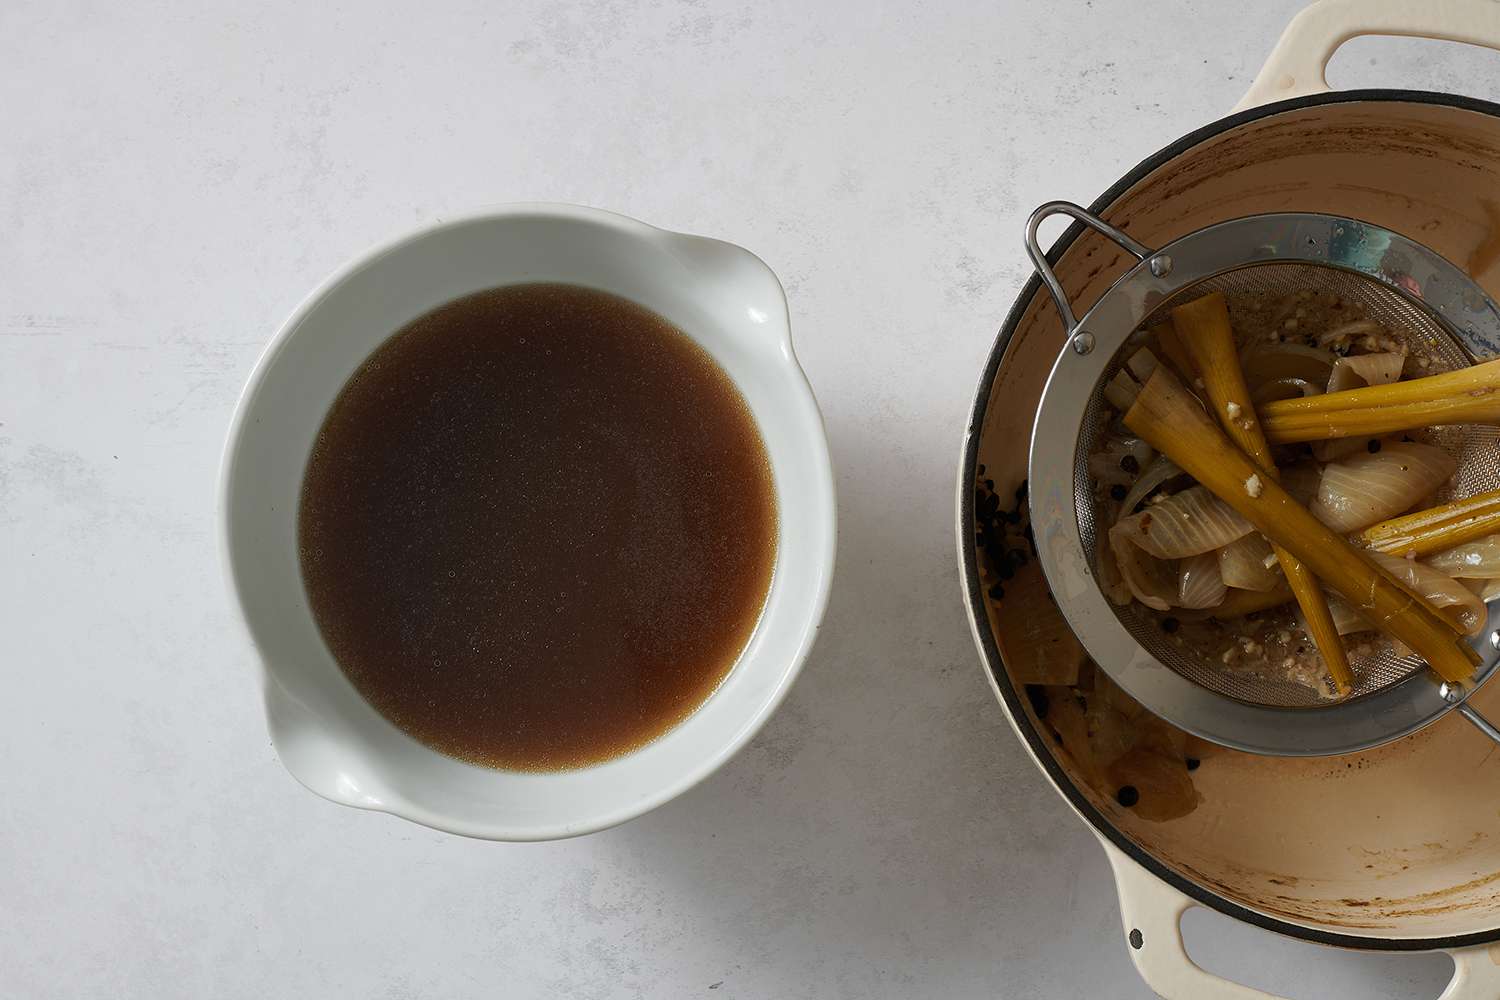
Strain the braising liquid through a fine mesh sieve and reserve for using as a soup base or in recipes that call for stock.
The Spruce Eats / Julia Hartbeck
-
Add the vegetable oil to a Dutch oven or large pot. Heat the oil to 365 F.
The Spruce Eats / Julia Hartbeck
-
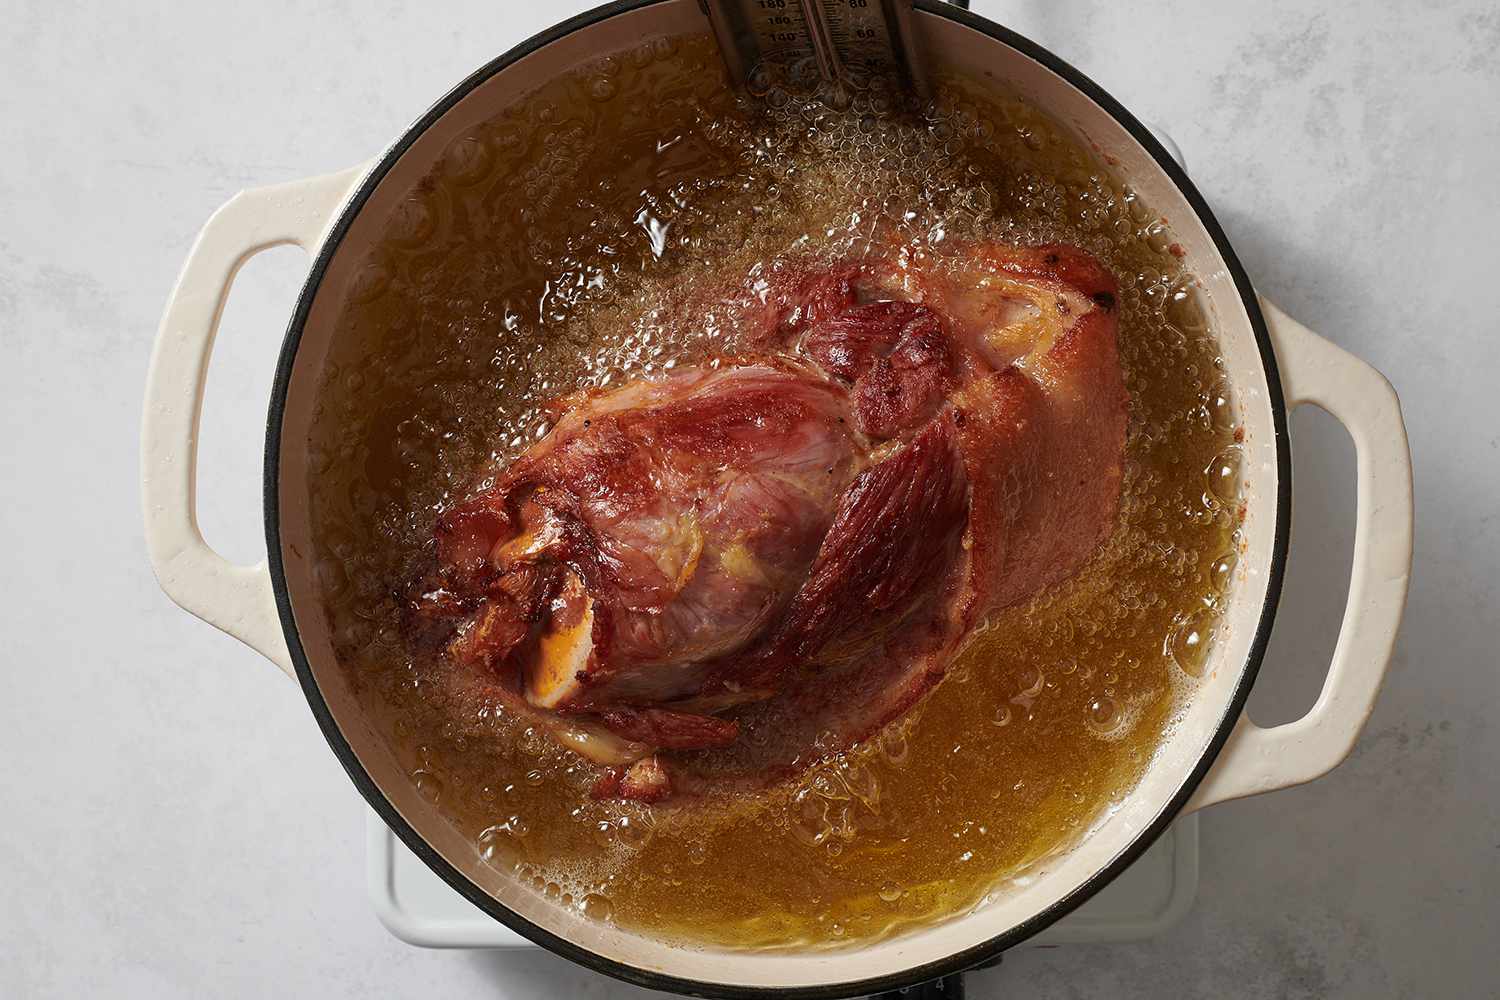
Carefully lower the ham hock into the pot and fry, turning once or twice, until golden brown and crispy all over, 15 to 20 minutes. Keep an eye on the temperature of the oil during frying and adjust the heat as needed to maintain a temperature of around 365 F.
The Spruce Eats / Julia Hartbeck
-
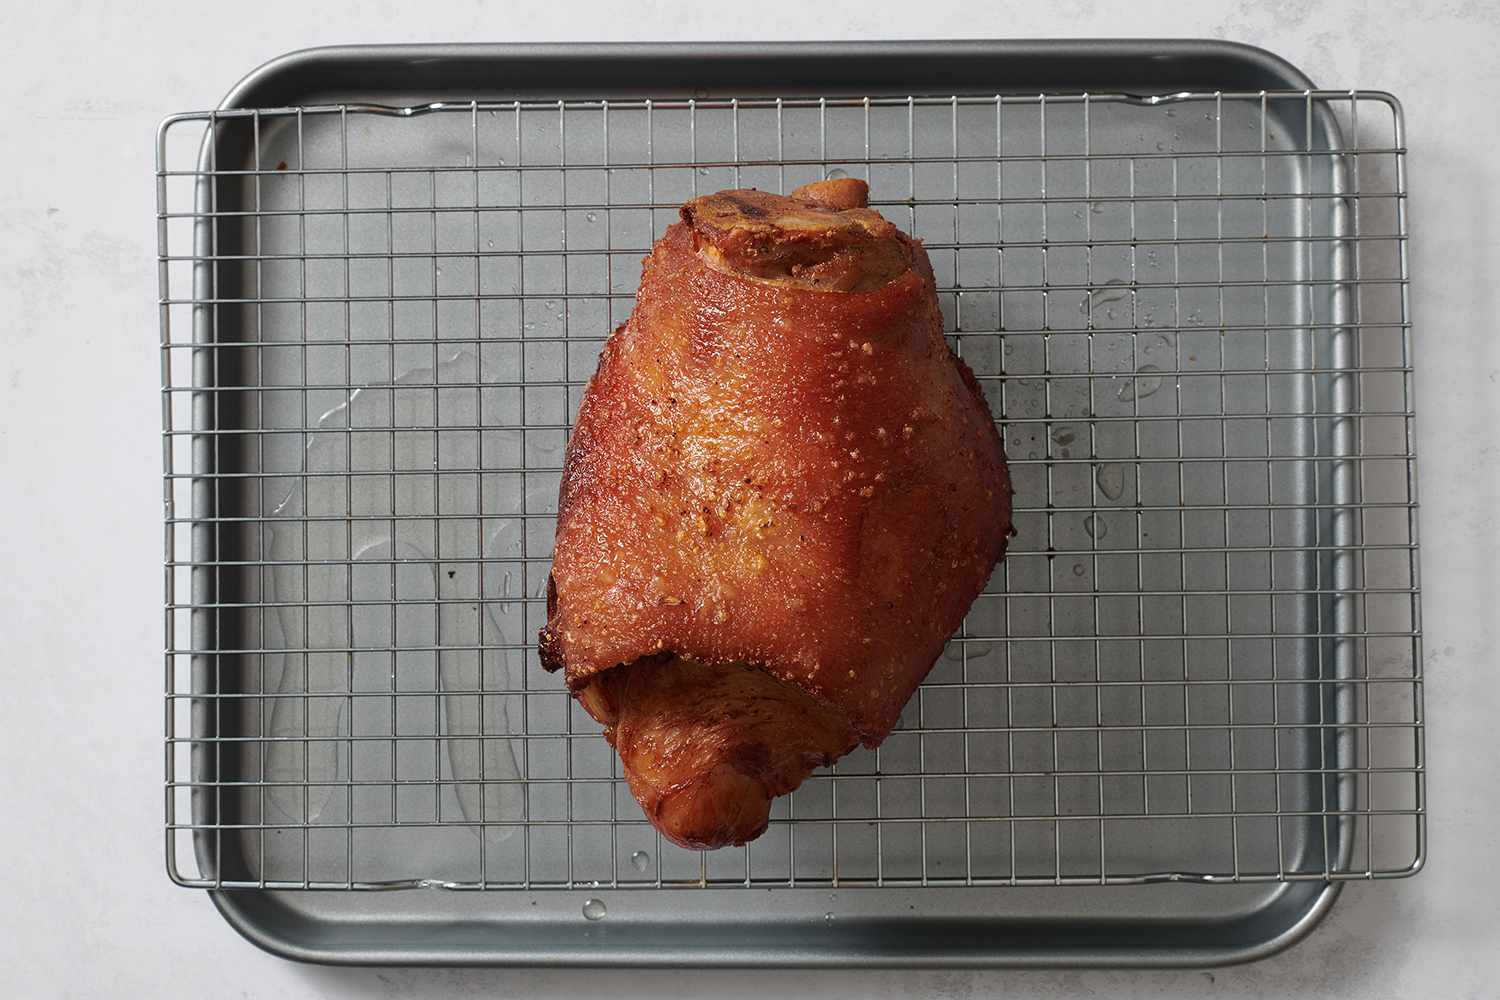
Remove the ham hock from the oil and place on a rack to drain excess oil.
The Spruce Eats / Julia Hartbeck
Make the Dipping Sauce
-
Gather the ingredients.

The Spruce Eats / Julia Hartbeck
-
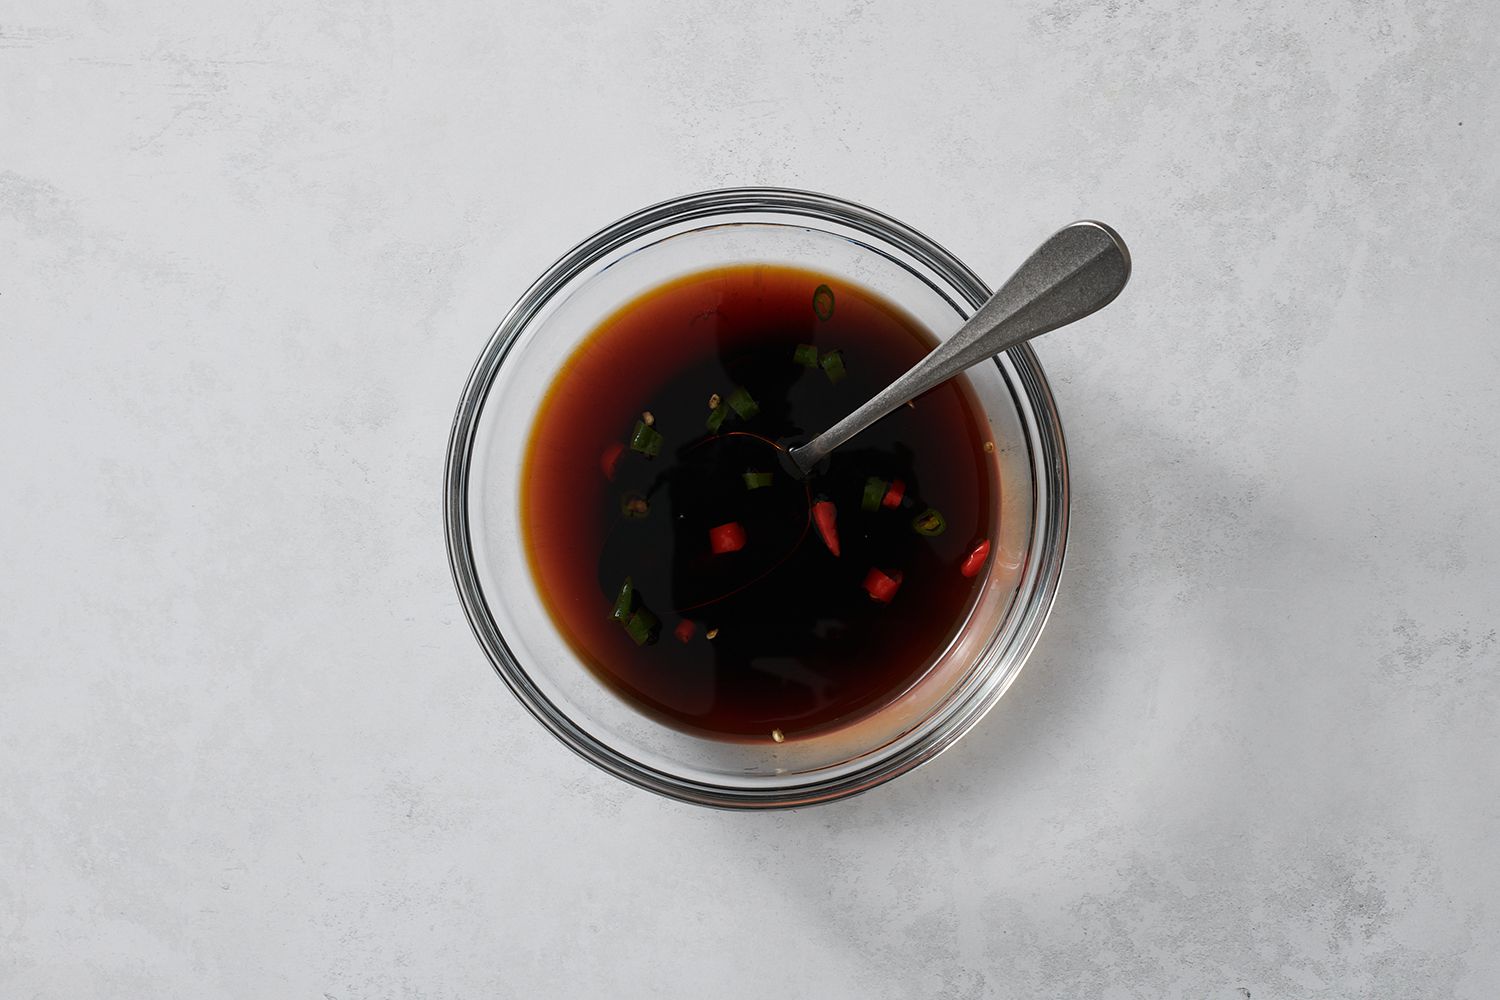
Combine the vinegar, soy sauce, and Thai chilies in a small bowl. Serve with the crispy pata.
The Spruce Eats / Julia Hartbeck
Tips
- Ensure the pork leg is dry before placing in hot oil or the oil will spatter.
- Poking the skin around the entire pork leg with a paring knife will allow the skin to render out fat and become very crisp while frying.
- When you add the pork leg to the hot oil, the temperature of the oil will drop quickly. To help the oil temperature recover quickly, increase the heat to high as soon as you add the pork to the oil. Just be sure to keep an eye on the oil temperature throughout the frying process and stay as close to 365 F as possible.
Make Ahead
- The dipping sauce can be made up to two days ahead.
Recipe Variations
- Rice wine vinegar may be used instead of cane vinegar for the dipping sauce.
How to Store
- Refrigerate leftovers in an airtight container and reheat in oven.
- The strained braising liquid can be kept refrigerated for up to 5 days or frozen for up to 6 months.
